 ultimate-guide
Commercial Water Damage Restoration Checklist: 2026 Guide
Table of Contents
- Commercial Water Damage Restoration Checklist: What to Do First
- Commercial Water Damage Mitigation Steps for Facility Managers
- Water Damage Restoration Equipment List for Large Buildings
- Structural Drying, Dehumidification, and HVAC Contamination
- Commercial Mold Remediation Timeline and Post-Restoration IAQ Testing
- Insurance Claim Documentation and Business Continuity Planning
- Conclusion: Building Your Water Damage Restoration Checklist
- Frequently Asked Questions
Last Updated: October 4, 2026
Commercial Water Damage Restoration Checklist: What to Do First
A commercial water damage restoration checklist is a documented protocol facility managers follow to stop water intrusion, protect occupants, and preserve the building envelope before a contractor arrives. At AFC Cleaning & Restoration, we have handled emergency water removal and mold remediation across the greater Kansas City area since 2003.
The stakes are higher in commercial settings than most general guides admit. According to OSHA's electrical safety guidance, water contact with energized equipment creates a genuine electrocution hazard, which is why the checklist below starts with safety rather than cleanup.
Immediate Safety Precautions and Electrical Hazards
Never enter a flooded commercial space until power to affected circuits is shut off at the breaker panel. Commercial buildings often have multiple panels, subpanels, and rooftop units to isolate.
- Shut off power to flooded zones at the main panel. If the panel itself is wet, call an electrician before touching it.
- Treat every standing-water area as energized until proven otherwise.
- Wear personal protective equipment (PPE): rubber boots, nitrile gloves, eye protection, and an N95 or better respirator.
Stopping the Source: Water Main Shut-Off and Loss Assessment
Find and close the water main shut-off valve first, then confirm the source. A commercial building may have several isolation valves, so know your layout before an emergency.
Once flow stops, perform a rapid loss assessment.
- Category 1: clean water from a supply line or broken pipe.
- Category 2: gray water from appliances, sinks, or a washing machine discharge.
- Category 3: black water from sewage, flooding, or standing water that has begun to grow bacteria.
Get the classification wrong and the whole job is wrong. A supply-line leak treated like a sewage backup wastes money; a sewage backup treated like a clean leak leaves pathogens behind.
Commercial Water Damage Mitigation Steps for Facility Managers
Water damage mitigation stops further damage and stabilizes the building before permanent repairs begin. For facility managers, this phase is about containment and evidence, not rebuilding.
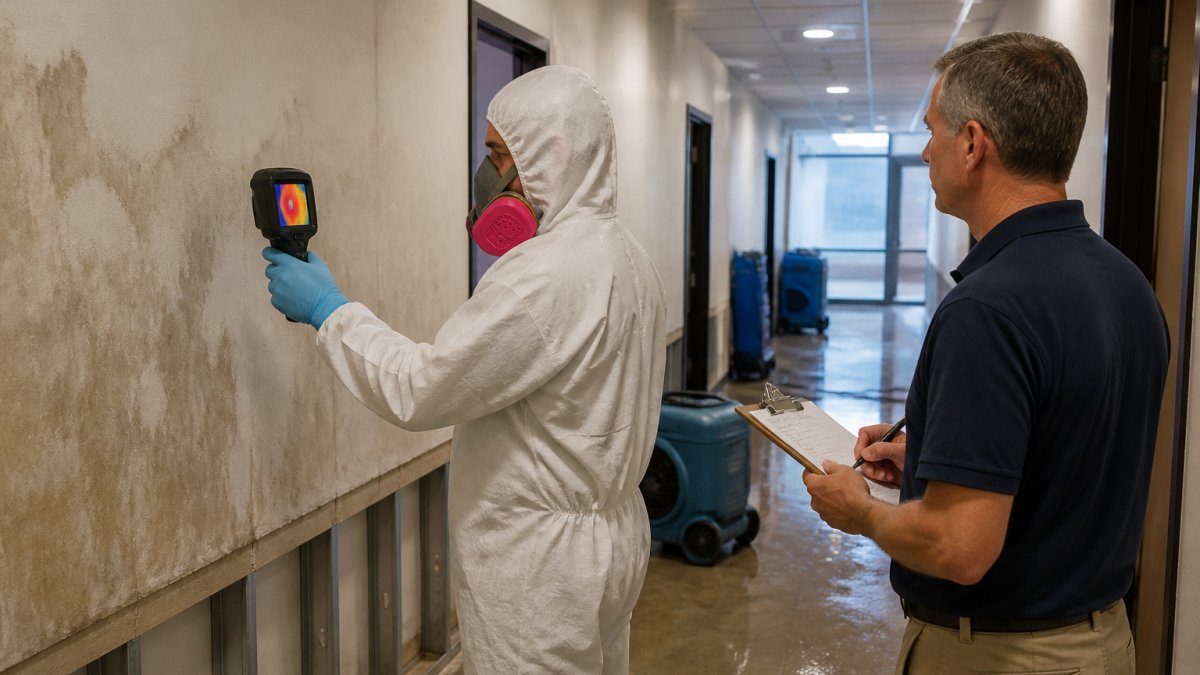
The first move is to remove standing water with extraction equipment and begin moisture mapping.
Log every reading. A hygrometer measures moisture content in materials, while relative humidity and dew point readings tell you whether the air can still absorb moisture.
Moisture Mapping, Thermal Imaging, and Hygrometer Readings
Moisture mapping charts wet and dry zones on a floor plan so the drying team knows where to place equipment. Thermal imaging finds temperature differences that signal trapped water inside walls and ceilings, and hygrometer readings confirm what the camera suggests.
- Map every affected room and mark wet boundaries on a sketch.
- Take thermal images of ceilings, walls, and subfloors.
- Record hygrometer readings at multiple points, not just one.
Water Damage Restoration Equipment List for Large Buildings
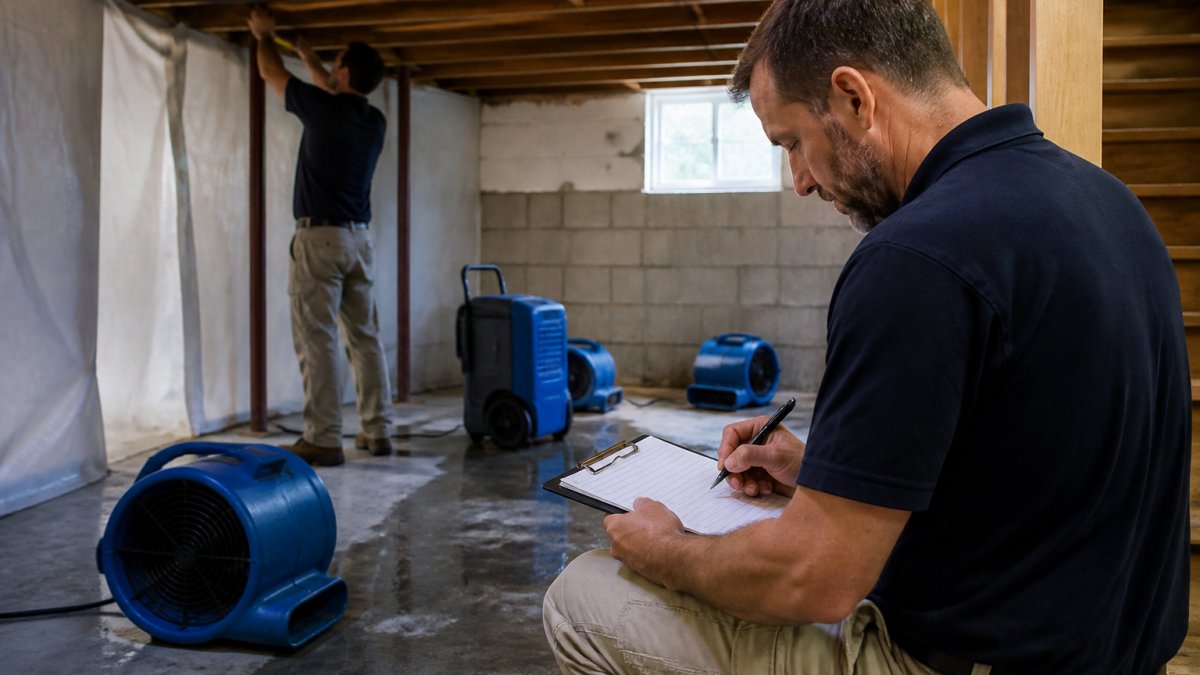
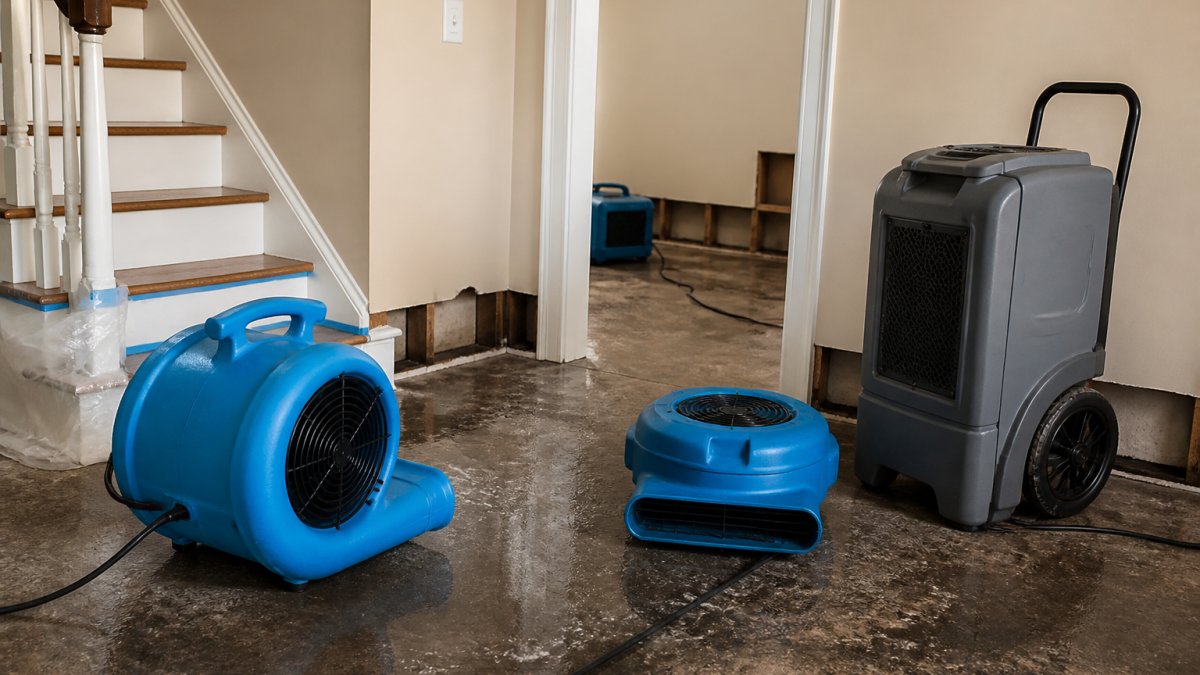
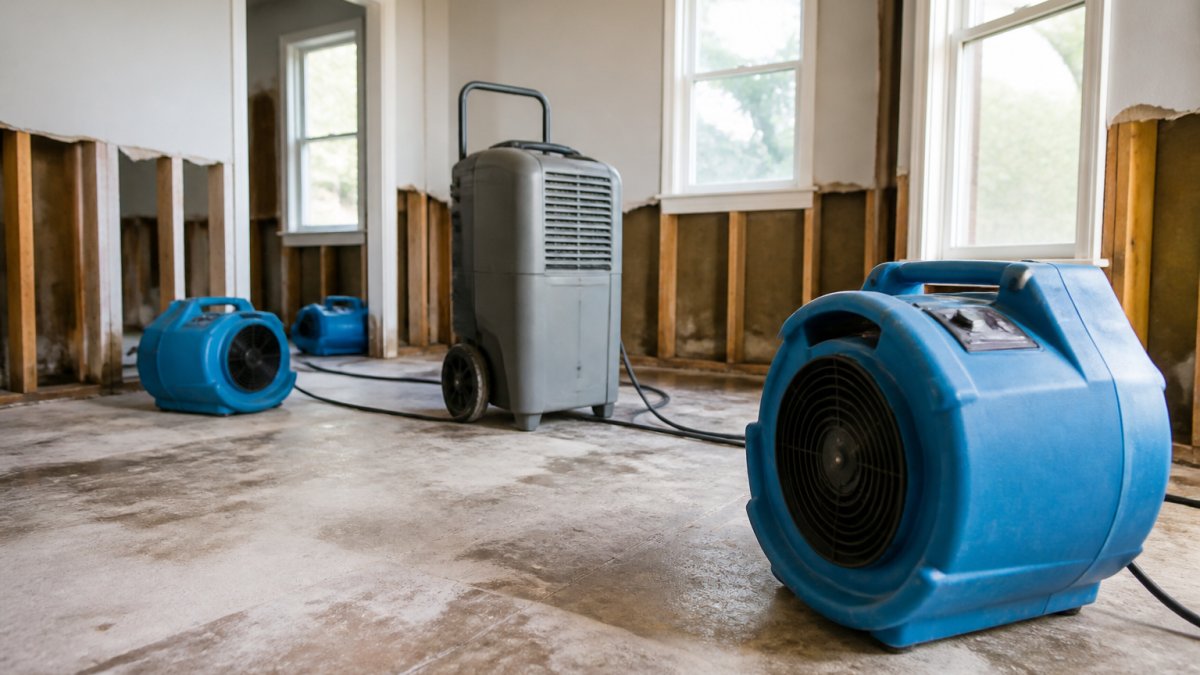
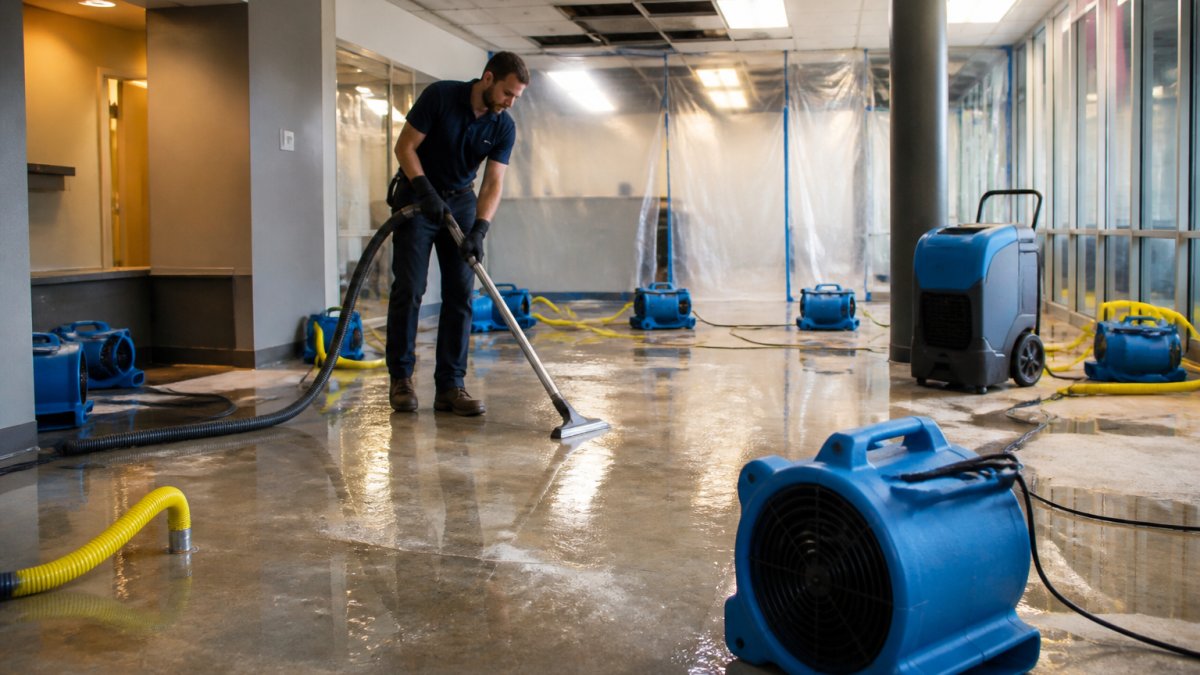
A commercial water damage restoration equipment list differs from a residential one because of scale. Large buildings need higher-capacity extraction, more air movers, and commercial-grade dehumidification to reach dry standard, sized to the loss, not ordered by the pallet.
| Equipment | Purpose | Best For | Commercial Sizing Note |
|---|---|---|---|
| Truck-mount or portable extractor | Removes standing water | Carpeted and hard-surface floors | Truck-mount units move far more water per hour than portables; portables are for upper floors and tight access |
| Air movers | Accelerate evaporation | Walls, ceilings, open floor plans | Placement follows the wet boundary, not the room count |
| Refrigerant or desiccant dehumidifiers | Pull moisture from the air | Large open spaces, cool rooms | Refrigerant units lose capacity in cool rooms; desiccant units hold up in low temperatures |
| Thermal imaging camera | Locates hidden moisture | Walls, ceilings, subfloors | One camera per floor is a common starting point on multi-story losses |
| Hygrometer and moisture meters | Verifies drying progress | Every affected material | Pin and pinless meters answer different questions; carry both |
| Negative air machines and HEPA filtration | Contains contaminants | Category 3 and mold jobs | Sized to the contained volume, not the building footprint |
| Injectidry or floor mat systems | Dries hard-surface and specialty floors | Glue-down wood, engineered flooring, stone | Often cheaper than tear-out and replacement |
Match equipment to the class of water loss, not square footage alone. A sealed retail floor with low airflow needs different dehumidification than an open warehouse with high ceilings.
A few commercial-specific trade-offs worth knowing before the truck arrives:
- Rooftop and upper-floor losses. Truck-mount extraction is not an option above grade. Portable extractors, low-profile pumps, and a plan for moving water down or out are the difference between a one-day and a three-day extraction.
- Sprinkler and riser rooms. These spaces often have floor drains and sump pumps already installed. Confirm they are working before you start extracting, or you will be re-wetting the same slab.
- Elevator pits and shafts. Water in a pit is a specialty problem. Most restoration contractors will not enter a pit without the elevator locked out and tagged, and the equipment list for a pit is short: pump, wet vac, and dehumidification, with the elevator vendor on site.
Structural Drying, Dehumidification, and HVAC Contamination
Structural drying is the controlled removal of moisture from building materials until they return to a documented dry standard.
HVAC contamination is the angle most checklists skip. If a water loss reaches ductwork, air handlers, or rooftop units, running the system spreads moisture and mold spores through the building.
Drying timelines vary with material and class of loss. Porous materials like drywall, insulation, and carpet padding dry slowly and may need removal, while tile, metal, and sealed concrete dry faster.
Commercial Mold Remediation Timeline and Post-Restoration IAQ Testing
Mold can begin colonizing wet materials within 24 to 48 hours, which is why drying speed matters more than any single piece of equipment. Commercial mold remediation follows a defined timeline: containment, removal of affected materials, antimicrobial treatment, and verification. Unlike residential work, the timeline must be documented, the work defensible to a third party, and the building usually has to reopen before remediation is fully finished.
- Containment. Seal off the work area with plastic barriers and negative air pressure. On commercial jobs, containment often has to be built around occupied space, a retail floor, a leased suite, a shared corridor, so the barrier plan is also a business-continuity plan.
- Removal. Take out mold-damaged drywall, insulation, and porous materials. Bag and dispose of debris per the waste-handling rules that apply to your jurisdiction and your building type.
- Cleaning. Apply antimicrobial treatment to affected and adjacent surfaces. HEPA-vacuum before wet-cleaning; the order matters, and reversing it spreads spores.
- Drying. Run dehumidification until moisture readings hit the dry standard. Do not stop because a surface feels dry.
- Verification. Confirm the work with post-remediation inspection and, where needed, air quality testing.
Commercial-Specific Compliance and Liability
Most residential guides stop at "call a professional." Commercial properties carry a second layer of obligations facility managers must plan for before the first containment barrier goes up.
- Worker safety. Mold remediation in an occupied building means workers and occupants share a structure. Respiratory protection, eye protection, and glove selection are not optional, and the written hazard assessment that supports those choices is part of the job file. OSHA respiratory protection standard is the reference most contractors build their program around.
- Building and fire codes. Containment barriers, temporary power, and blocked egress all interact with fire code. A barrier that blocks a required exit path is a code problem, not just a logistics problem.
- Lease and tenant obligations. Many commercial leases put the remediation obligation on the landlord and the business-interruption obligation on the tenant, or the reverse. Read the lease before you assume who pays.
Post-Restoration Indoor Air Quality (IAQ) Testing
Post-restoration indoor air quality (IAQ) testing confirms airborne spore levels have returned to normal before occupants re-enter. It matters most in buildings with sensitive occupants, food service, or healthcare tenants, but the mechanics are the same everywhere.
A typical clearance process has three parts:
- A baseline or comparison sample. Air sampling results are usually read against an outdoor control sample or a known-clean interior area, not against a single fixed number.
- A visual inspection. The remediator's own visual check is not a clearance. The clearance inspection is done by a party who did not perform the remediation.
- A written report. The report identifies sample locations, method, and results, and states whether the space is cleared for occupancy.
Two practical points that trip up facility managers:
- Do not run the HVAC system to "air out" the building before clearance. If ductwork was in the affected zone, running the system moves spores into clean areas and can invalidate the clearance. Shut down affected zones until a technician inspects them.
- Clearance is a snapshot, not a warranty. A passing clearance test on Tuesday does not mean the building stays clean if a hidden moisture source is still feeding a colony behind a wall. That is why the moisture readings from the drying phase and the clearance report belong in the same file.
Insurance Claim Documentation and Business Continuity Planning
Insurance claim documentation is the paper trail that turns a covered loss into a paid claim. Start it the day water is discovered, before cleanup begins.
- Photograph and video every affected area before, during, and after mitigation.
- Keep moisture mapping records, hygrometer logs, and equipment placement notes.
- Save all receipts for emergency repairs, equipment rental, and temporary services.
Business continuity planning runs alongside the claim. The FEMA ready-business guidance outlines a practical continuity framework that pairs well with a restoration plan.
Commercial-specific compliance and liability deserve their own line item. Building codes, tenant leases, and local health rules may dictate how quickly certain spaces must be restored, and documentation protects you if a tenant or customer later claims the building made them sick.
Conclusion: Building Your Water Damage Restoration Checklist
Every commercial water damage restoration checklist should be written before the emergency, not during it. The steps in this guide, from shutting off power to logging final IAQ results, form the backbone of a plan you can hand to any staff member at 2 a.m.
AFC Cleaning & Restoration has handled flood water damage repair, mold removal, and full building restoration across the greater Kansas City area since 2003.
Get started with AFC Cleaning & Restoration and restore your building to its pre-disaster condition.
Frequently Asked Questions
What are the immediate steps to take after commercial water damage?
First, ensure everyone is safe and shut off the power to affected areas at the breaker panel. Stop the water source by locating the water main shut-off. Then call a certified restoration team for water extraction and moisture mapping. Document everything with photos before moving contents, and contact your insurance carrier to start the claim. Fast action within the first 24 to 48 hours limits secondary damage and mold growth.
How fast does mold start after water damage?
Mold can begin growing within 24 to 48 hours of water exposure on wet porous materials like drywall, carpet, and ceiling tiles. In humid commercial spaces, that window can shrink. This is why commercial water damage mitigation steps focus on extraction and dehumidification starting on day one. If materials stay wet beyond 48 hours, plan for mold remediation as part of the restoration scope rather than treating it as a separate later project.
What is the difference between category 2 and category 3 water damage?
Category 2 water is contaminated, often from toilet overflow, appliance discharge, or broken aquariums, and can cause illness if ingested. Category 3 water is grossly contaminated, including sewage, flooding from rivers, and ground surface water. Category 3 losses require antimicrobial treatment, removal of affected porous materials, and PPE for all workers. Both categories need fast extraction, but category 3 demands stricter sanitization and disposal procedures.
What is the difference between water mitigation and remediation?
Mitigation stops the damage from spreading: water extraction, structural drying, and dehumidification. Remediation addresses contamination that already exists, like mold removal, antimicrobial treatment, and disposal of ruined materials. A commercial water damage restoration checklist covers both phases because a single loss often needs mitigation first, then remediation if mold or sewage contamination is present. Skipping either phase leaves hidden moisture behind walls and under subfloors.
How does IICRC certification impact restoration quality?
IICRC-certified technicians follow standardized drying science, including psychrometric calculations for relative humidity and dew point, instead of guessing at equipment placement. Certifications like WRT (Water Restoration Technician) and ASD (Applied Structural Drying) mean the crew has passed testing on moisture mapping, drying chambers, and documentation. That training directly affects whether a building dries completely the first time or develops mold behind walls weeks later.
Does commercial water damage restoration cover HVAC system contamination?
HVAC systems often pull moisture and airborne mold spores through ductwork after a water loss, spreading contamination to unaffected areas of the building. A thorough restoration scope includes inspecting air handlers, coils, and duct interiors, then cleaning or replacing affected components. If the HVAC ran during the loss, assume contamination until testing proves otherwise. This step is frequently missed on generic checklists and is a major reason mold returns after a job looks finished.