 ultimate-guide
Emergency Water Damage Restoration Process: 2026 Guide
Table of Contents
- What to Do in the First Hour of Water Damage
- Emergency Water Damage Restoration Process: Step by Step
- Water Damage Restoration Timeline: What to Expect Day by Day
- Water Damage Mitigation Steps vs. Full Restoration
- IICRC Water Damage Standards: Why Certification Matters
- DIY vs. Professional Restoration: When to Call a Pro
- Insurance Claims and Documentation: What to Save
- Preventing Mold and Maintaining Your Restored Property
- Frequently Asked Questions
Last Updated: October 2, 2026
What to Do in the First Hour of Water Damage
The first 60 minutes after water intrusion decide whether you're looking at a contained cleanup or a months-long reconstruction. According to FEMA's flood damage guidance, standing water begins compromising drywall and subfloor materials within hours, and microbial growth can establish itself faster than most homeowners expect. This guide from AFC Cleaning & Restoration walks through the emergency water damage restoration process the way our IICRC-certified technicians actually run it, from the first phone call to the final walkthrough.
Immediate Safety Steps Before Help Arrives
Safety comes before salvage. Cut power at the breaker only if you can reach the panel without wading through water; if it's wet or submerged, leave it and call an electrician.
- Shut off the water source if the leak is still active
- Photograph everything before you move a single item
- Avoid contact with gray water or black water, which carry contaminants
- Do not run a household vacuum near standing water
- Keep children and pets out of the affected zone
Emergency Water Damage Restoration Process: Step by Step
The professional restoration sequence moves through five phases, and skipping any one is how mold ends up behind your walls six months later. A typical residential job runs three to five days, longer with structural repairs.
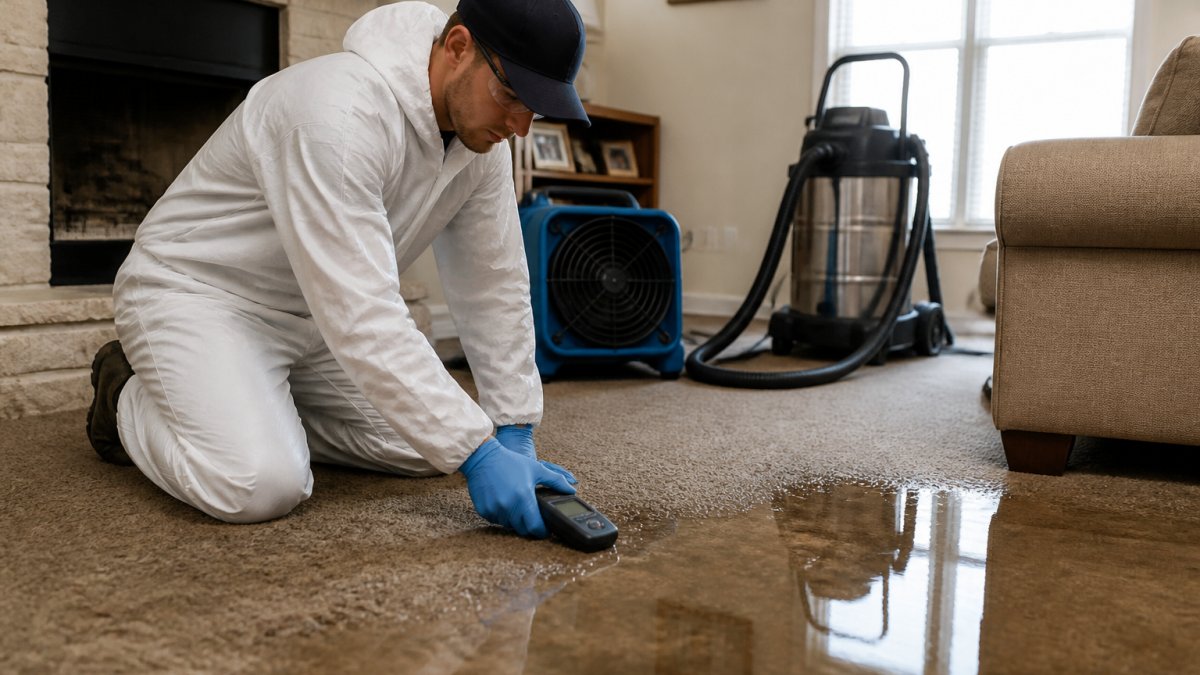
Inspection and Damage Assessment
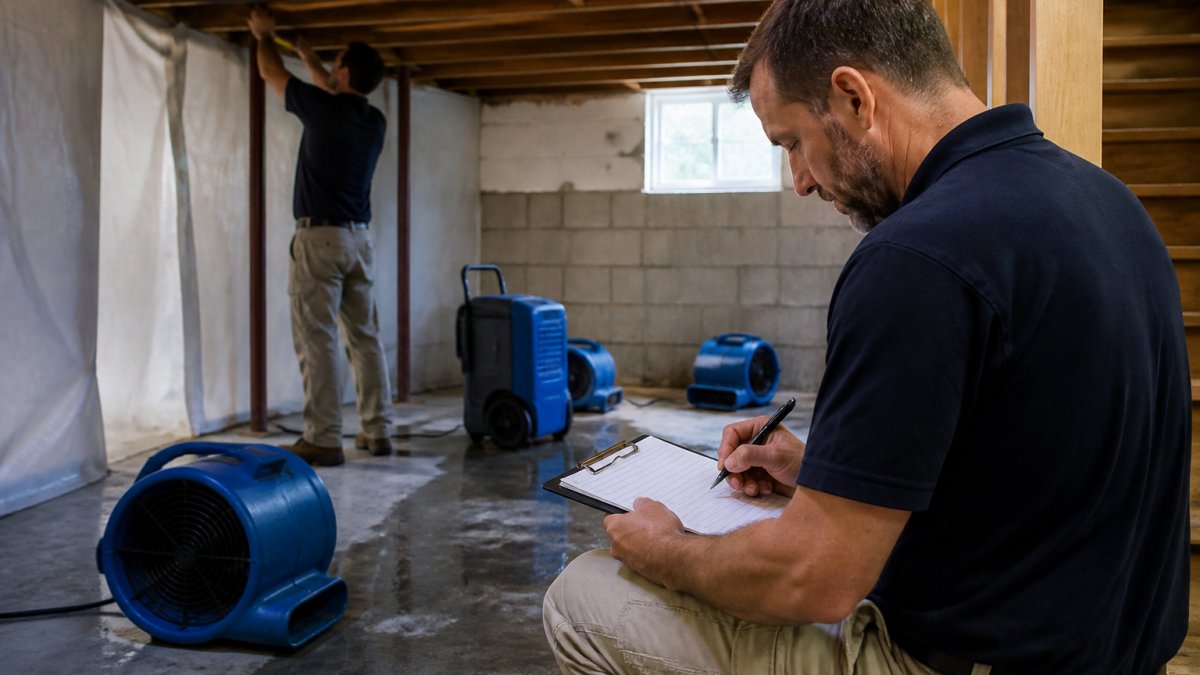
Technicians begin with moisture mapping, using thermal imaging and hygrometers to trace water migration behind walls and under flooring. A visible ceiling stain often signals saturation several feet away. This phase also classifies the water: category 1 is clean and from a sanitary source, category 2 is gray water with some contamination, and category 3 is black water carrying serious health risks.
Water Extraction and Removal
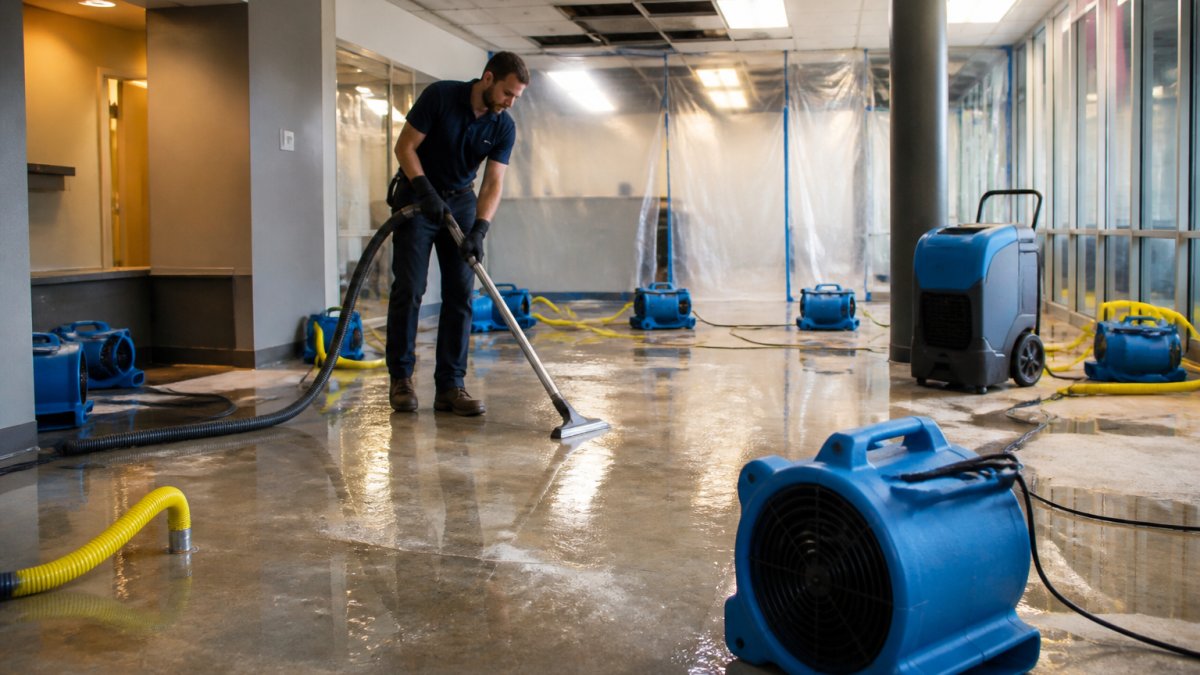
Extraction is the fastest-moving phase. Truck-mounted and portable units pull the bulk of standing water out of carpet, subfloor, and crawl spaces, with submersible pumps handling volume first in deep flooding. Expect several hours on a standard residential loss.
Drying and Dehumidification
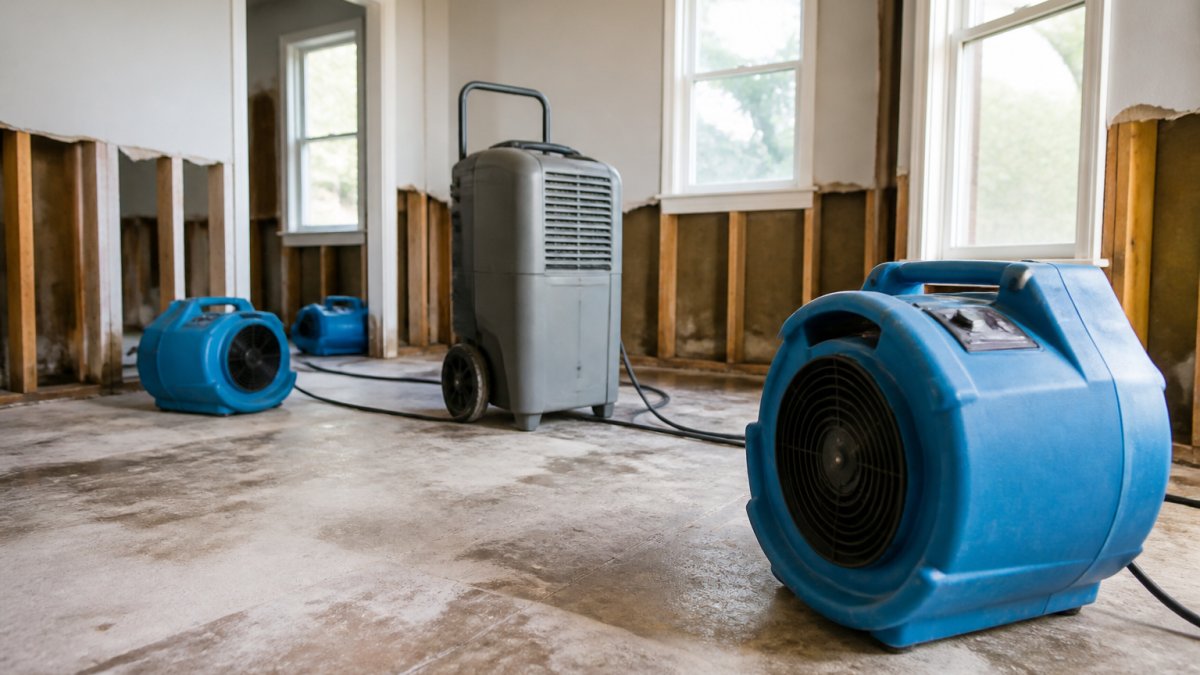
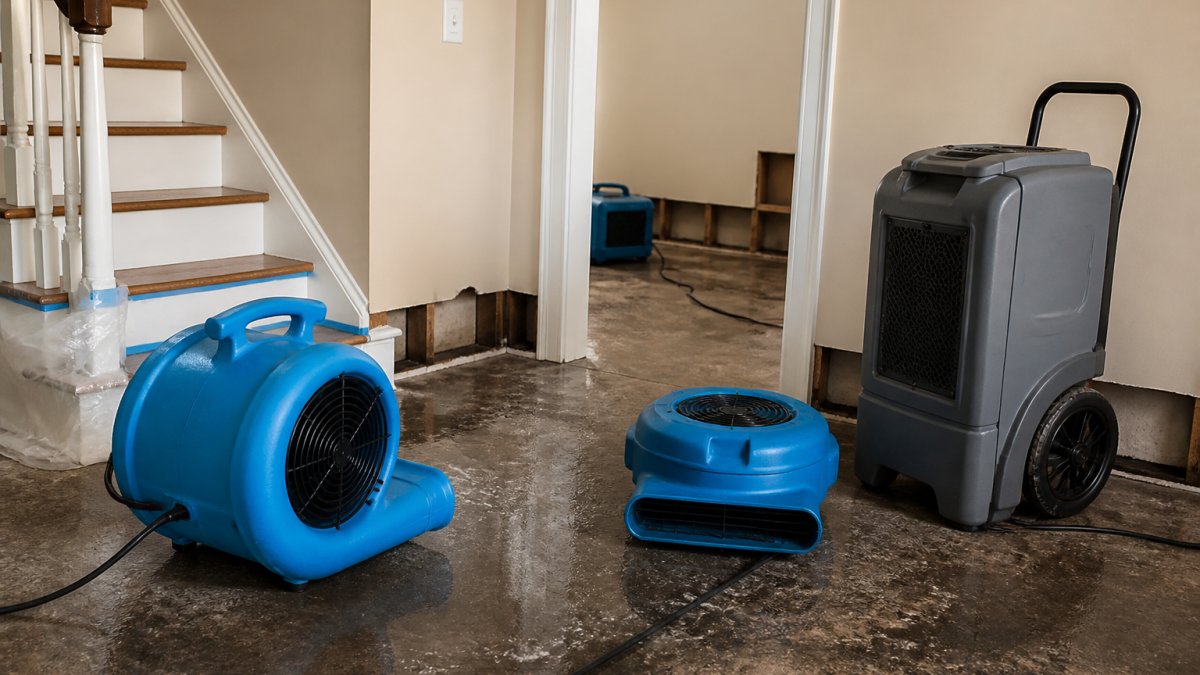
Structural drying is where patience pays off. Technicians position air movers to accelerate evaporation and desiccant or refrigerant dehumidifiers to pull moisture from the air. Daily moisture content readings track progress. Drying typically takes three to five days, and stopping early is the single most common reason mold returns.
Cleaning, Sanitizing, and Disinfection
Once materials reach acceptable moisture levels, surfaces get cleaned and sanitized to hygienic standards. Porous materials exposed to category 3 water, including drywall and insulation, are removed rather than cleaned. Antimicrobial treatments address what remains.
Structural Repairs and Restoration
The final phase restores the property to pre-loss condition: drywall replacement, flooring, trim, and painting. For commercial properties with large HVAC systems, it also includes ductwork assessment.
Water Damage Restoration Timeline: What to Expect Day by Day
The water damage restoration timeline varies by loss size, but most residential projects follow a predictable arc.
| Phase | Typical Duration | What Happens |
|---|---|---|
| Emergency response | 1-2 hours | Call answered, crew dispatched, water source controlled |
| Inspection and assessment | 1-2 hours | Moisture mapping, thermal imaging, category classification |
| Water extraction | 3-8 hours | Standing water removed, bulk saturation addressed |
| Structural drying | 3-5 days | Air movers and dehumidifiers run continuously |
| Cleaning and sanitization | 1 day | Surfaces treated, contaminated materials removed |
| Structural repairs | 2-10 days | Drywall, flooring, and finish work restored |
Water Damage Mitigation Steps vs. Full Restoration
Mitigation and restoration are related but distinct, and insurance policies often treat them differently. Water damage mitigation steps stop the damage from spreading: extraction, drying, and sanitization. Full restoration rebuilds what was lost. Mitigation typically happens in the first 24-72 hours and is the urgent priority; restoration follows once the structure is stable and dry.
IICRC Water Damage Standards: Why Certification Matters
The IICRC water damage standards are the industry benchmark for how restoration work should be performed, covering everything from moisture measurement protocols to drying verification. Certification means a technician has been trained and tested against those standards. It matters for two reasons: work performed to a recognized standard is far more defensible in an insurance claim, and uncertified crews frequently skip verification steps, which is how a "dry" room becomes a mold problem.
DIY vs. Professional Restoration: When to Call a Pro
Most guides tell you to call a professional immediately. That advice is safe but not always useful, because a slow supply-line drip under a bathroom sink is a different problem than two inches of water across a finished basement. The decision comes down to four variables: water category, standing time, materials affected, and square footage.
The Four Variables That Decide It
Water category. Category 1 is clean water from a sanitary source, such as a supply line, a refrigerator line, or rainwater that has not touched a contaminated surface. Category 2 is gray water with some contamination, such as a washing machine discharge or a toilet overflow without solid waste.
DIY Is Reasonable When All of These Are True
- The water is Category 1 and from a sanitary source
- It has been standing less than 24 hours
- The affected area is small and contained to one room
- Only non-porous or semi-porous surfaces are wet (tile, sealed concrete, vinyl)
- You can dry the area within 24 to 48 hours
- There is no visible or suspected mold
If every box is checked, extract what you can, run a dehumidifier and fans continuously, and monitor for musty odors over the next week. If any box is unchecked, call a professional.
Call a Professional When Any of These Are True
- The water is Category 2 or Category 3
- Water has been standing more than 24 hours
- Water has reached drywall, insulation, subfloor, or carpet pad
- The source is a sewage backup or outdoor flooding
- The affected area is larger than a single small room
- You see or smell mold, or the space has been wet before
- The loss involves a commercial HVAC system or a multi-unit building
- You cannot identify or stop the water source
Why Consumer Equipment Often Falls Short
The gap between consumer and professional drying equipment is not marketing. A box fan moves a fraction of the air volume of a professional air mover, and a residential dehumidifier pulls a small fraction of the pints per day a commercial refrigerant or desiccant unit removes. That matters because drying is a race against microbial growth: when the drying curve is too slow, materials that could have been saved are classified as unsalvageable.
A Simple Decision Rule
If you are unsure, ask one question: is the water clean, recent, and contained to a non-porous surface? If yes, DIY is defensible. If any part of that answer is no, call a professional, an assessment almost always costs less than a mold remediation.
Insurance Claims and Documentation: What to Save
Insurance claim documentation is the difference between a smooth payout and a disputed one, and the biggest mistake homeowners make is cleaning up before they document. Once water is extracted and damaged materials hauled away, you have lost your best evidence. The checklist below is organized by when to capture each item.
Before You Touch Anything
- Date-stamped photos and video of every affected room, shot wide first and then close
- Photos of the water line on walls, the source of the leak, and any visible damage to belongings
- A short video walkthrough narrating what you see, what room you are in, and the date and time
- Photos of serial numbers and model plates on damaged appliances and electronics
Most smartphones embed a timestamp and location automatically. Confirm that setting is on before you start, because adjusters increasingly rely on metadata to verify when damage occurred.
During Cleanup and Mitigation
- Receipts for any emergency purchases, including fans, dehumidifiers, towels, and hotel stays
- A written inventory of damaged items with approximate replacement values and, where possible, purchase dates
- The restoration company's moisture readings, daily drying logs, and equipment placement records
- Names and contact information for every contractor or vendor who touches the property
- Any correspondence with your adjuster, including emails, texts, and notes from phone calls with dates and times
How Adjusters Actually Use Your Documentation
An adjuster is building a defensible file. Photos establish the scope of loss, moisture readings establish that drying was necessary and done to a verifiable standard, receipts establish out-of-pocket costs, and daily logs establish the work took the number of days claimed. When any piece is missing, the adjuster must make an assumption, and assumptions usually resolve in favor of the insurer.
Common Documentation Mistakes
- Cleaning or discarding damaged items before photographing them
- Relying on memory instead of a written inventory
- Failing to photograph the source of the water, not just the damage
- Throwing away receipts for emergency purchases
- Not requesting the contractor's moisture logs at the end of the job
- Waiting days to file the claim, which can complicate causation arguments
What to Do If Your Claim Is Disputed
If the adjuster's estimate comes in lower than the restoration scope, request it in writing and compare it line by line against your contractor's documentation. Disputes most often center on whether drying was necessary, how long it should have taken, and whether damaged materials could have been saved.
Preventing Mold and Maintaining Your Restored Property
Mold growth needs moisture, and the best prevention is keeping your restored space dry. Run a dehumidifier in basements and crawl spaces during humid months, check supply lines behind appliances annually, and clean gutters before storm season so water moves away from the foundation. After any future water intrusion, even a small one, dry the area within 24 to 48 hours.
Frequently Asked Questions
What are the 5 steps of water damage restoration?
The five core steps are inspection and damage assessment, water extraction, drying and dehumidification, cleaning and sanitizing, and structural repairs. Each step follows IICRC standards to ensure thorough restoration. Skipping any step, especially drying, can lead to mold growth within 24 to 48 hours and costly rework.
How long does the water damage restoration process take?
Most residential water damage restoration takes three to five days for drying, with repairs adding more time. Category 1 clean water may dry in two to three days, while Category 3 black water requires extra cleaning and may take a week or longer. Your water damage restoration timeline depends on the water category, affected materials, and humidity levels.
What should you do immediately after water damage occurs?
First, shut off the water source and electricity to affected areas if safe. Then, remove standing water with a wet vacuum if you can do so safely, and call a professional restoration company. Document the damage with photos and contact your insurance company. Avoid using household fans, which can spread moisture and contaminants.
Is water damage restoration covered by homeowners insurance?
Most homeowners insurance policies cover sudden and accidental water damage, such as burst pipes or appliance failures. Flood damage from outside water typically requires separate flood insurance. Review your policy and document all damage with photos and receipts to support your claim.
Why is professional water damage restoration necessary?
Professionals have moisture meters, thermal imaging cameras, and industrial air movers to detect hidden moisture and dry structures completely. Without proper drying, mold can grow behind walls and under floors. IICRC-certified technicians follow standards that ensure safe, effective restoration and help prevent future problems.
What is the difference between water mitigation and restoration?
Water mitigation steps stop further damage, such as extracting water and starting drying. Restoration returns your property to its pre-damage condition, including repairs and replacements. Mitigation happens first and is often urgent; restoration follows once the structure is dry and stable. Both are part of the full emergency water damage restoration process.