 ultimate-guide
Emergency Restoration Services for Property Managers
Table of Contents
- Why Property Managers Need a Restoration Response Plan
- What Emergency Restoration Services Cover
- Commercial Water Damage Restoration Protocol
- Insurance Claim Documentation for Property Managers
- Commercial Property Disaster Recovery Checklist
- How to Vet a Restoration Vendor Before You Need One
- Tenant Communication During an Emergency
- Your Next Step: Build Your Emergency Plan
- Frequently Asked Questions
Last Updated: September 8, 2026
When a pipe bursts at 2 AM or a storm tears through a roof, property managers carry the weight of tenant safety, building integrity, and owner expectations all at once. Emergency restoration services for property managers are a core operational requirement for protecting asset value and maintaining habitability. At AFC Cleaning & Restoration, we have spent decades responding to these scenarios across commercial buildings.
The best time to evaluate emergency restoration services for property managers is before you need them. Below, we walk through the response plan, restoration protocols, documentation requirements, and vendor vetting criteria that separate a controlled recovery from a spiraling liability.
Why Property Managers Need a Restoration Response Plan
A restoration response plan is a documented procedure defining who gets called, what gets done first, and how the property is stabilized after an emergency. Without one, decision-making happens in chaos, and chaos costs money.
Mold growth can begin within 24 to 48 hours of moisture exposure, making moisture control and structural drying urgent (the EPA). A response plan removes guesswork so mitigation drives the first hours. It should name the primary restoration contact, list shut-off valve locations, and define the chain of command for notifying owners and tenants.
What Emergency Restoration Services Cover
Emergency restoration services for property managers encompass a broad set of disaster recovery capabilities that return a building to a safe, habitable condition, addressing the full lifecycle of damage from initial hazard assessment to final reconstruction.
The typical scope includes water extraction and moisture control, fire and smoke damage restoration, mold remediation and air quality testing, storm damage recovery, and sewage cleanup or biohazard handling. For commercial properties, services extend to site stabilization, including temporary shoring, emergency board-up, and debris removal.
Commercial Water Damage Restoration Protocol
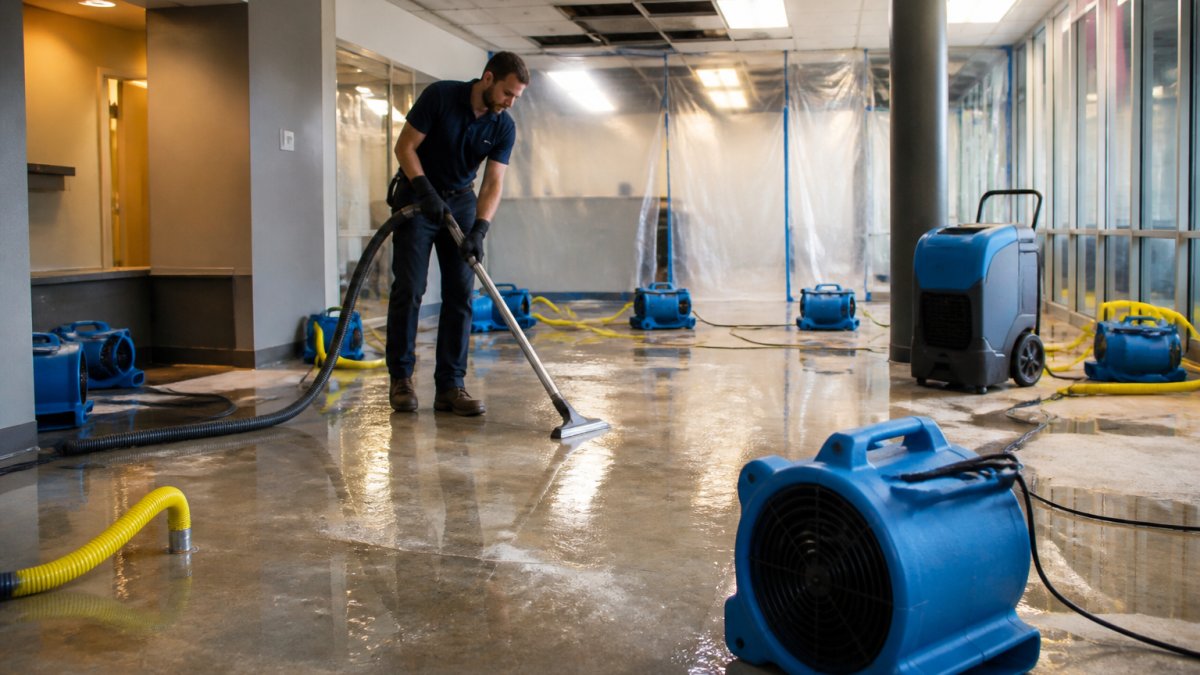
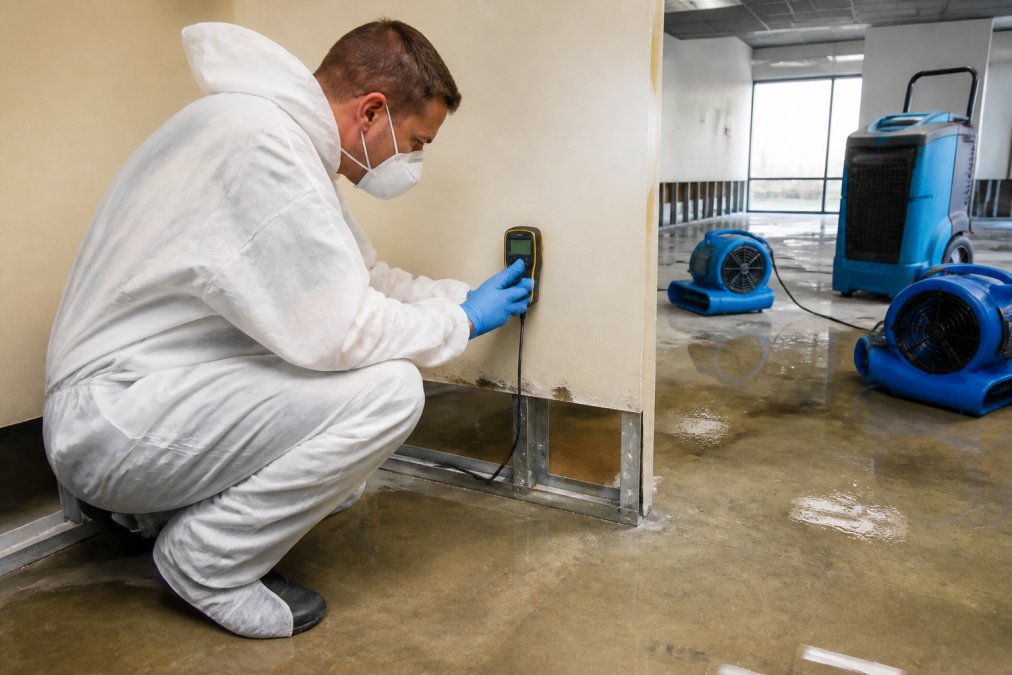
Commercial water damage restoration follows a systematic protocol to dry the structure completely and prevent secondary damage like mold growth. The process begins with a hazard assessment, then moves immediately to water extraction.
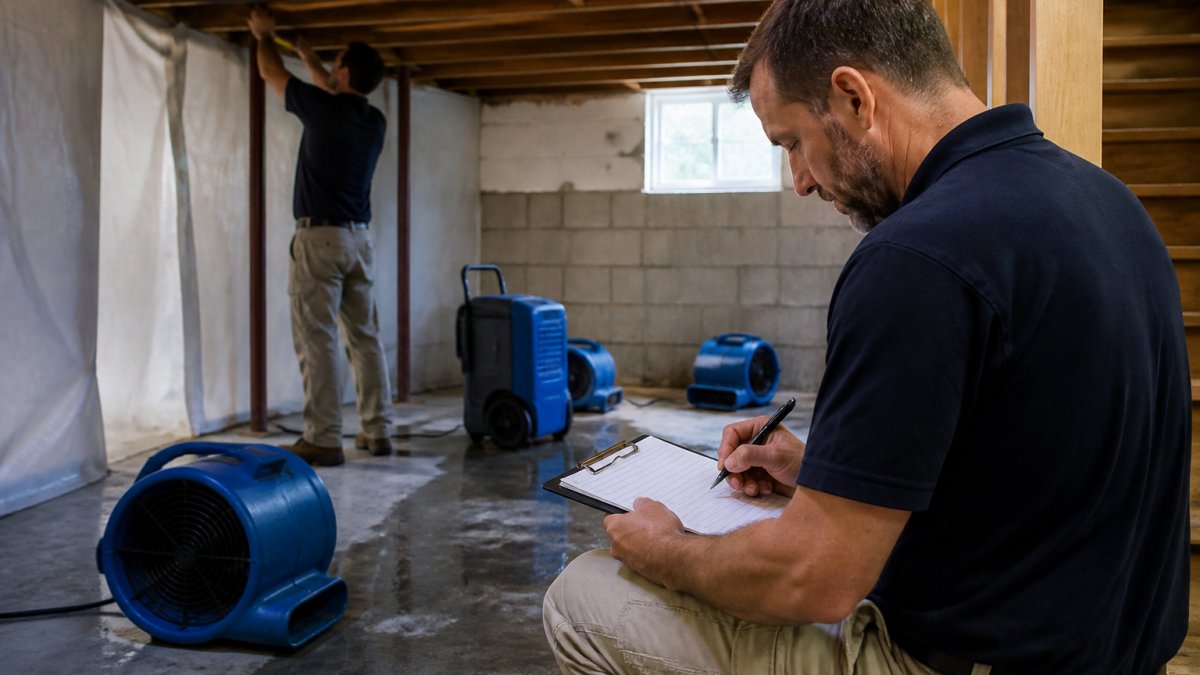
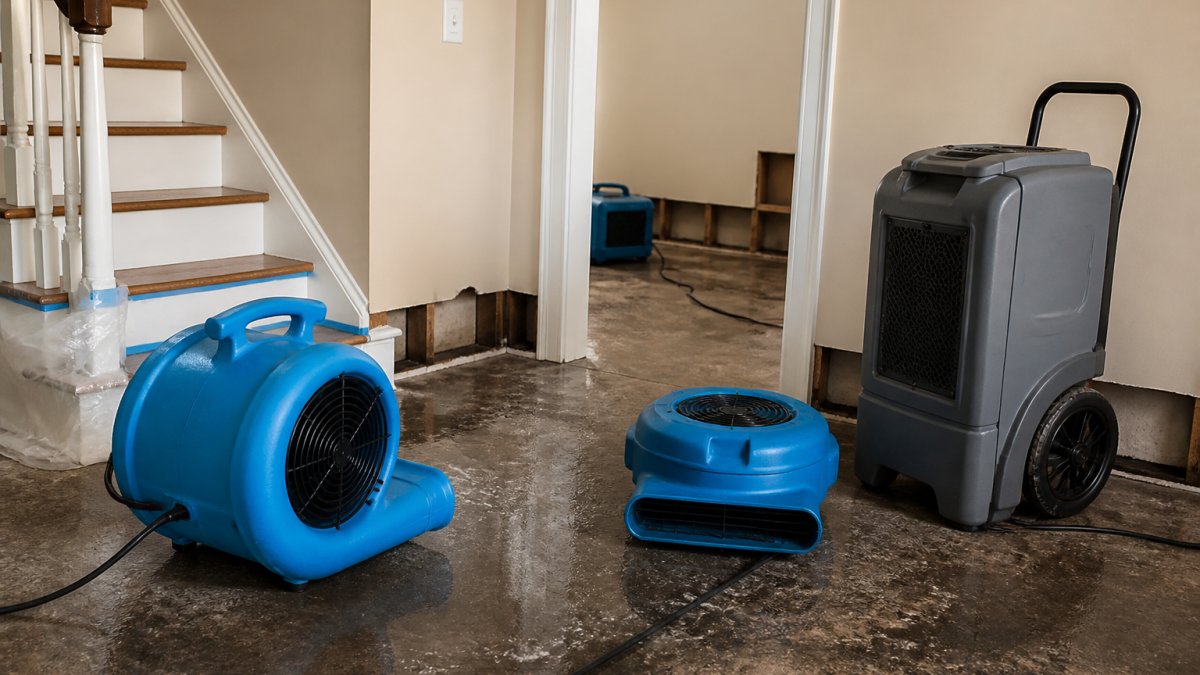
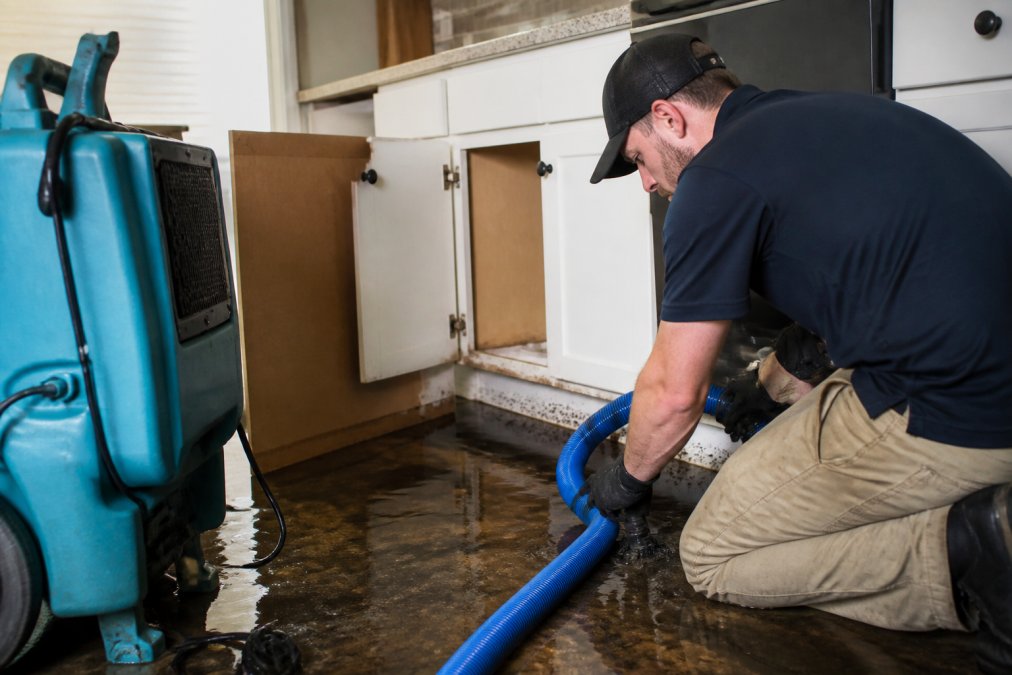
Technicians extract standing water with industrial pumps, place air movers and dehumidifiers for structural drying, monitor moisture levels with moisture meters, and finally clean and sanitize affected areas. This sequence explains why a vendor cannot simply "pump out the water and leave."
Insurance Claim Documentation for Property Managers
Insurance claim documentation is the single most important factor in securing a fair and timely settlement. Most vendors say they will "handle the paperwork," but few provide a clear process. This protocol turns you into the adjuster's most trusted source of information.
The goal is a chain of evidence telling a clear story: what happened, when, what was damaged, and what it cost to fix. A vague claim invites a lowball offer; a detailed claim with a timeline and technical documentation demands a full review.
The 5-Step Documentation Protocol
Step 1: Preserve the Scene (Before Mitigation)
Before any water is extracted or any debris is moved, you must document the 'before' state. Walk the entire affected area and capture:
- Wide-angle photos and videos of every room, from multiple angles, to establish the overall scope.
- Close-up shots of specific damage: water lines on drywall, buckled flooring, soot patterns on ceilings, or a downed tree on a roof.
- A time-stamped log of your arrival and the vendor's arrival. This proves response time, which is often a policy requirement.
- A written narrative of what you observed, including the source of the damage (e.g., "burst pipe under the kitchen sink") and the estimated time of discovery.
Step 2: Create a Detailed Inventory
For contents damage, a photo of a pile of wet furniture is not enough. You need an itemized list. For each item, record:
- Description (e.g., "Sofa, 3-seat, fabric, brand: [Brand Name]")
- Approximate age and purchase price if known.
- Condition before the loss (e.g., "Good, minor wear")
- Estimated replacement cost
This is tedious, but it is the difference between reimbursement for a total loss and a depreciated value for a 'used sofa.' A professional vendor will often provide a contents restoration specialist, but you should have your own baseline inventory for high-value items.
Step 3: Document the Mitigation Process
This is where most property managers lose leverage. You must document the work itself. Your vendor should provide, and you should review:
- Daily moisture logs showing the readings from moisture meters on walls, floors, and ceilings. This proves the drying process was scientific and monitored.
- Equipment placement logs listing the number and type of air movers and dehumidifiers used. This justifies the equipment line items on the invoice.
- Photos of the process, technicians extracting water, placing equipment, and performing demolition. This shows the adjuster the extent of the labor involved.
Step 4: Maintain a Communication Log
Keep a simple spreadsheet or document that logs every interaction with your vendor, the insurance adjuster, and the property owner. Record the date, time, who you spoke with, and a summary of what was discussed. This prevents disputes about what was promised and when.
Step 5: Submit a Complete, Organized Claim
Do not send a folder of loose photos. Compile everything into a single, organized PDF with clear sections: Incident Summary, Photo Log, Inventory List, Vendor Invoices, and Moisture Logs. An organized submission makes the adjuster's job easier, which makes them more likely to process yours quickly and favorably.
Commercial Property Disaster Recovery Checklist
A commercial property disaster recovery checklist guides property managers' response when an emergency strikes. It is not a substitute for professional restoration services, but it ensures critical steps are not overlooked in the chaos.
- Secure the site: Shut off water or gas sources if safe, and ensure the area is clear of occupants.
- Call your restoration vendor: Contact your pre-vetted emergency partner immediately, regardless of the hour.
- Document initial damage: Take photos and videos of all affected areas before any cleanup begins.
- Notify stakeholders: Inform property owners and tenants of the situation and the expected next steps.
- Mitigate further damage: If safe, move valuable contents away from water or fire sources.
- Track all communication: Log every call, email, and conversation with your vendor and insurer.
How to Vet a Restoration Vendor Before You Need One
Vetting a restoration vendor before an emergency is the most effective loss prevention strategy. A crisis is the wrong time to discover your provider cannot handle a commercial-scale job or does not answer at 3 AM. Use a comparative scoring system to evaluate vendors side-by-side.
Score each potential partner from 1 (Poor) to 5 (Excellent). A vendor scoring below 4 in any critical category should be disqualified.
The Vendor Evaluation Rubric
1. True 24/7 Emergency Response (Score: /5)
- Do they answer the phone themselves, or is it a call center that pages someone? Ask to speak to a live dispatcher right now, at 2 PM on a Tuesday. If you get a voicemail, that is your answer.
- Ask for their average response time SLA (Service Level Agreement) (iicrc.org). A common industry standard for commercial properties is a 2-hour response time to be on-site (restorationindustry.org). Get this in writing.
- Verify their crew size for commercial jobs. A residential crew of 2-3 people cannot handle a 10,000 sq ft office water loss. Ask how many technicians they can deploy within 4 hours for a property of your size.
2. Certifications and Training (Score: /5)
- IICRC Certifications: Look for specific credentials, not just a general 'certified' claim. Key ones are WRT (Water Damage Restoration Technician) and ASD (Applied Structural Drying).
- Ask for proof. A reputable vendor will proudly share their technicians' certificates. If they are vague, that is a red flag.
- In-house vs. Subcontracted: Ask if their technicians are employees or subcontractors. In-house teams are typically better trained and more accountable.
3. Commercial Property Experience (Score: /5)
- Ask for case studies of similar commercial projects (office buildings, retail, multifamily). What was the square footage? What was the timeline?
- Request references from other property managers. Call them. Ask: "How quickly did they respond? Did they communicate clearly? Did they handle the insurance adjuster well? Did the job stay on schedule and on budget?"
- Ask about their experience with your specific building type.
4. Equipment and Technology (Score: /5)
- Do they own their equipment or rent it? Owning equipment means they can mobilize faster and are more invested in its maintenance.
- What is their drying equipment inventory? Ask about the number of air movers, dehumidifiers, and moisture meters they can bring to a job.
- Do they use thermal imaging cameras? This is a key tool for finding hidden moisture in walls and ceilings, which prevents mold growth and secondary damage.
5. Insurance Claim Advocacy (Score: /5)
- Do they provide a detailed, itemized scope of work? Ask to see a sample of a previous estimate. Is it a single line item ('water damage cleanup - $5,000') or a detailed breakdown of labor, equipment, and materials?
- Will they communicate directly with the adjuster? This is critical. You want a vendor who will advocate for the full scope of work, not just accept whatever the adjuster approves.
- Do they provide daily moisture logs and progress reports? This documentation is essential for a smooth claim.
6. Financial Stability and Insurance (Score: /5)
- Ask for a certificate of insurance. Verify they have general liability and workers' compensation coverage. You do not want to be liable if a technician is injured on your property.
- Check their business history. How long have they been in business? A company with 20 years of history is a safer bet than one that started last month.
How to Use the Rubric
Do not simply pick the highest total. A vendor scoring 5 on response time but 2 on insurance advocacy could cost you thousands in an underpaid claim. Weigh categories based on your portfolio's risks: older buildings with aging plumbing demand response time and water damage expertise; Class A office space demands insurance advocacy and communication.
Tenant Communication During an Emergency
Clear tenant communication during an emergency is essential for maintaining trust and managing expectations. How you communicate during a crisis directly affects tenant retention and your reputation.
Communicate as soon as the immediate safety threat is addressed. Provide a factual summary of what happened, what is being done, and what tenants should do next. Be transparent about timelines but avoid promises you cannot keep. If tenants are displaced, communicate the return plan clearly. Regular updates, even with no new information, prevent rumors and reduce anxiety.
Your Next Step: Build Your Emergency Plan
The difference between a manageable incident and a prolonged disruption is preparation. Emergency restoration services for property managers are only as effective as the plan that triggers them, and that plan must be built now, not during the crisis.
Start by documenting your property's critical systems, identifying your restoration vendor, and drafting tenant communication templates. This guide has walked you through the response plan, restoration protocols, and insurance documentation requirements, but the next step is yours. Our team is available 24/7, 365 days a year with IICRC-certified technicians serving the Kansas City area since 2003. Contact AFC Cleaning & Restoration today to build your emergency plan and get the peace of mind that comes from knowing your properties are protected.
Frequently Asked Questions
What should be included in a property manager's emergency response plan?
Your plan needs a clear chain of command, a 24/7 contact list for restoration services, utility shut-off locations, and a communication protocol for tenants. Include a vendor vetting checklist so you are not making decisions under pressure. Document your insurance policy details and keep a copy of your commercial property disaster recovery checklist accessible. Review and update the plan annually, and run a tabletop exercise with your team to expose gaps before a real emergency occurs.
How do I choose a reliable commercial restoration company?
Verify IICRC certification for technicians and confirm the company carries liability and workers' compensation insurance. Ask for references from other property managers and check their response time guarantees. Confirm they handle commercial-scale jobs with adequate equipment and crew size. Review their insurance claim documentation process, since thorough documentation protects you during the claims process.
What are the immediate steps for water damage mitigation in commercial buildings?
Stop the water source if safe, then shut off electricity in affected areas. Document everything with photos before any cleanup begins. Contact your restoration services provider immediately, even for what looks like minor damage. Professional mitigation starts with water extraction, followed by moisture control and structural drying. Do not delay, as mold growth can begin within 24-48 hours. Your vendor should follow the commercial water damage restoration protocol to document conditions and track drying progress.
What documentation do property managers need for insurance claims after a disaster?
Collect dated photos and video of all damage before mitigation starts. Keep receipts for any emergency repairs and temporary measures. Your restoration vendor should provide detailed reports including moisture readings, drying logs, and itemized scopes of work. This insurance claim documentation for property managers is essential for reimbursement. Maintain a communication log of all conversations with your insurer and the restoration team. Submit your claim promptly and respond to adjuster requests within their stated deadlines.