 how-to
How to Document Mold Damage for Insurance Claims: Step-by-Step
Quick Summary
To document mold damage for an insurance claim, first make sure everyone is safe and stop the water, then photograph and video the damage before any cleanup. Keep damaged materials until the adjuster sees them, and record the moisture source, readings and a dated log.
- Wear an N95 mask and keep children and pets out of the affected room.
- Take wide, close-up and video shots before any cleanup, with the date and time on.
- Keep original, unedited photo files and back them up to a cloud account.
- Do not cut open walls; ask a licensed inspector to document concealed mold.
- Save every receipt for emergency repairs, extraction, drying and cleanup supplies.
Table of Contents
- Start With Safety and Stop Further Damage Without Destroying Evidence
- Photograph and Video Visible Mold Before Any Cleanup
- Document the Moisture Source and Hidden Damage Without Disturbing Materials
- Build a Room-by-Room Damage Inventory and Evidence Log
- Record Personal Property, Repair Receipts and Cleanup Costs
- How to Write a Damage Report for Insurance That Holds Up
- Filing Your Claim and Keeping a Timeline Through Remediation
- Your Next Step: Schedule a Documented Inspection With AFC Clean
- Frequently Asked Questions
Start With Safety and Stop Further Damage Without Destroying Evidence
Before you document anything, make sure everyone is safe, because a visible mold issue is the first thing to address in any document mold damage process. Mold can irritate the lungs, eyes and skin, so keep children and pets out of the affected room and wear an N95 mask if you must enter. Shut off electricity to wet areas if water is near outlets or appliances.
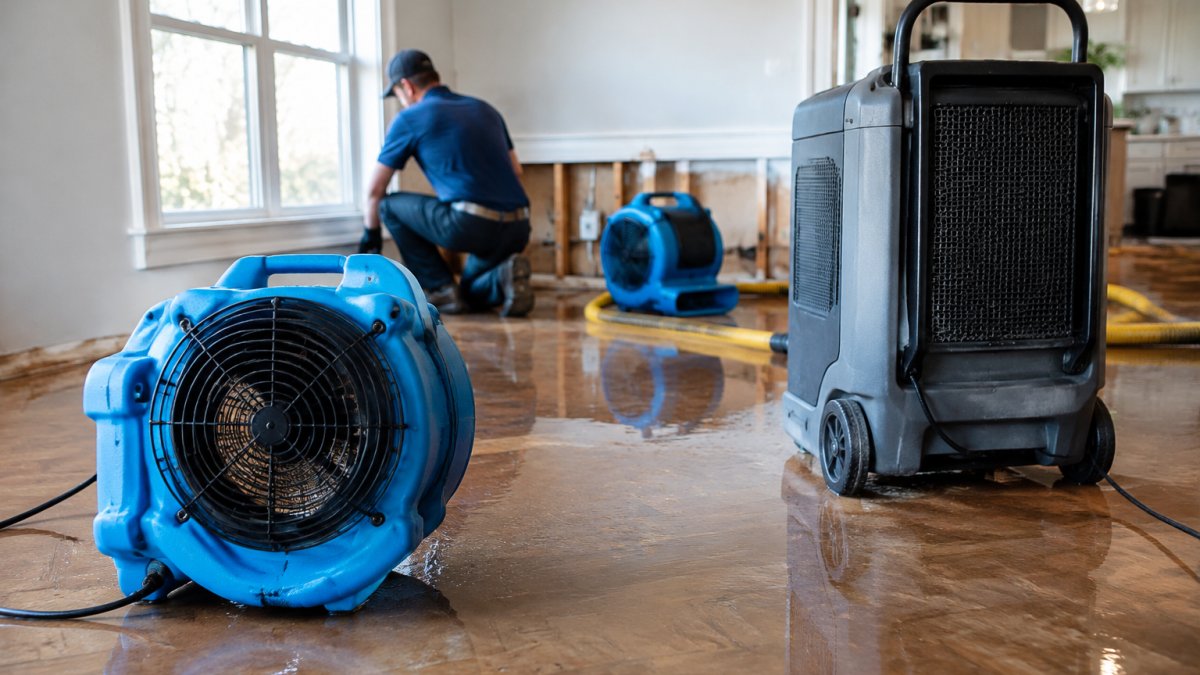
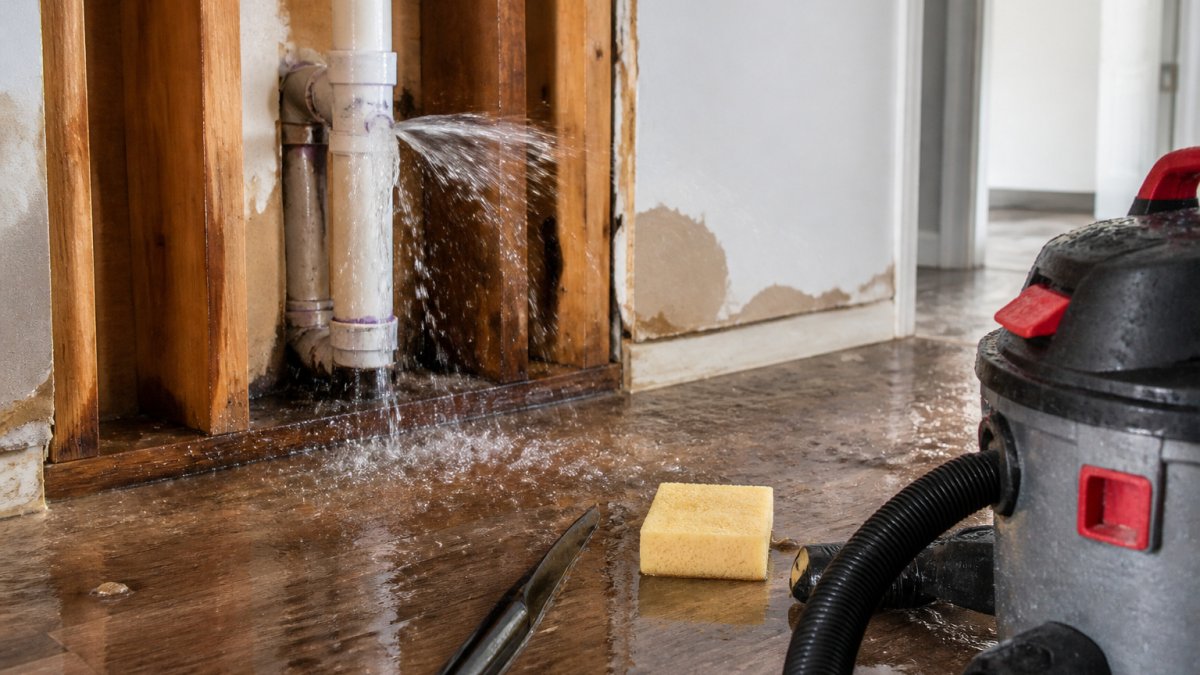
Next, stop the water. Close the main valve if the source is a burst pipe, and mop or pump standing water when it is safe to do so. Each hour of moisture gives mold more room to spread.
Here is the balance that matters. You must prevent more damage, but you must not throw away evidence. Keep damaged drywall, carpet pads and furniture until your adjuster has seen them, unless a health risk forces removal. Snap a photo before anything leaves the house.
Watch out: Many homeowners rip out wet drywall the same day they discover it. That can erase proof of the water source and hand the insurer a reason to deny the claim.
Before documenting anything, prioritize safety and stopping the water, while preserving evidence:
| Step | What to do | Timing |
|---|---|---|
| Protect people | Keep children and pets out; wear an N95 mask | Before entering the room |
| Shut off power | Turn off electricity to wet areas near outlets | As soon as water is near outlets |
| Stop the water | Close the main valve if a pipe burst | Immediately |
| Remove standing water | Mop or pump water when safe | As soon as it is safe |
| Keep evidence | Keep damaged materials until the adjuster sees them | Until adjuster inspection |
Photograph and Video Visible Mold Before Any Cleanup
Photos and video are the strongest proof you can give an insurer. Take them before any cleanup starts, while the damage is still exactly as you found it.
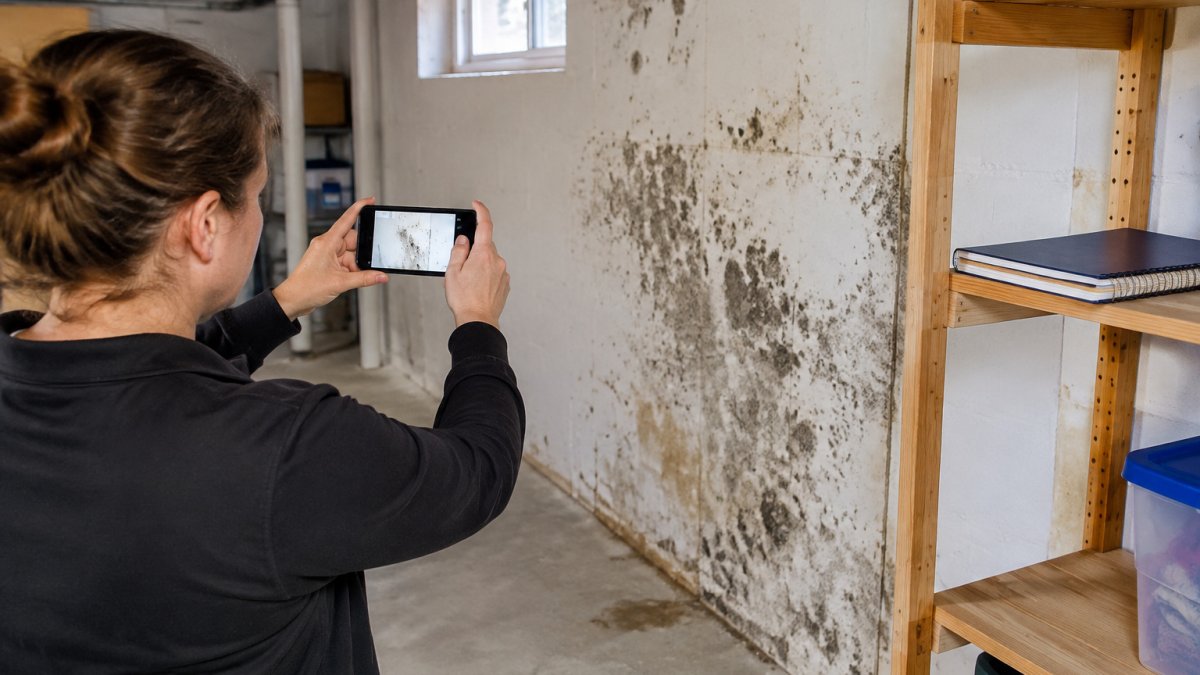
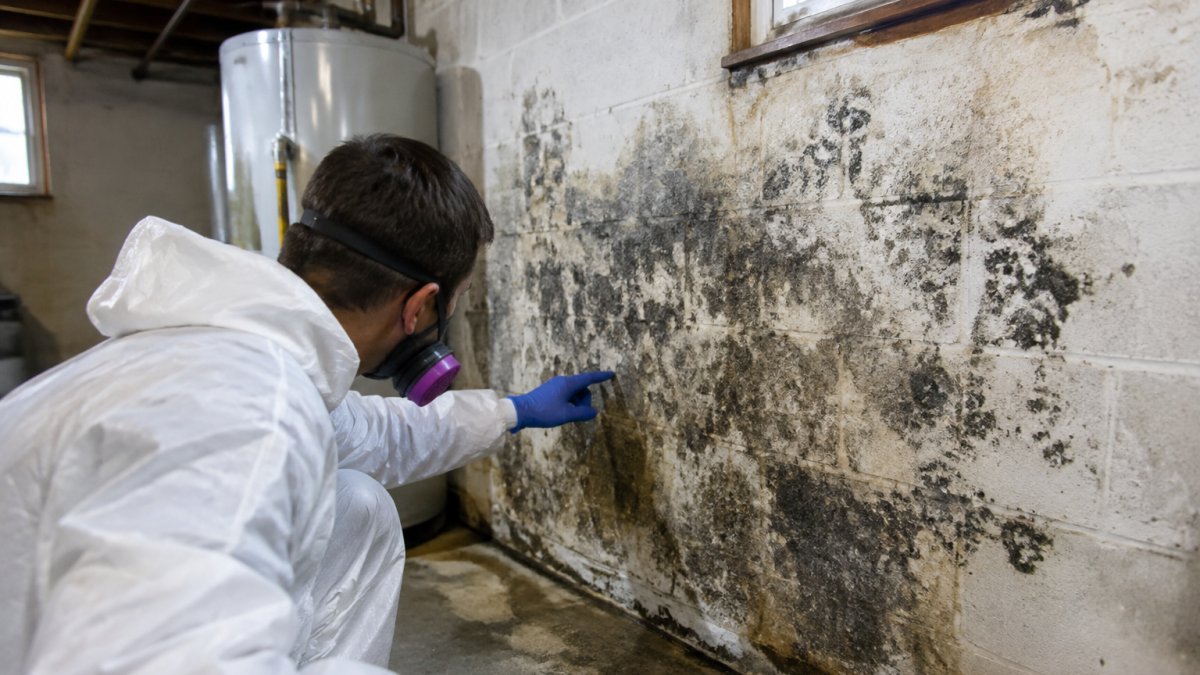
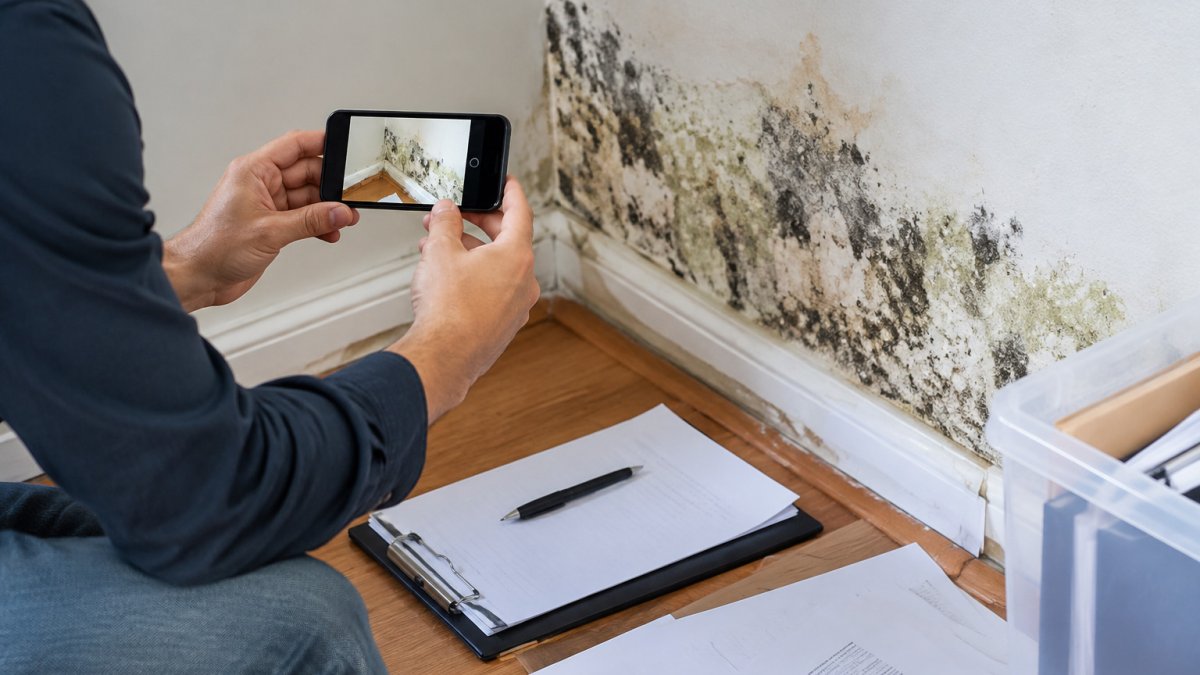
Use a smartphone with the date and time settings turned on. Shoot wide shots of each room first, then close-ups of every stain, bloom and discolored surface. Film a slow walk-through video that shows how the damage connects from room to room.
Keep your original files. Do not edit, crop or filter them. Back them up to a cloud account so a lost phone does not erase your proof.
- Shoot wide, then close, then video
- Include a common object, like a coin or ruler, for scale
- Keep original, unedited files
Document the Moisture Source and Hidden Damage Without Disturbing Materials
Insurers want to know where the water came from and how long it was present, since a clear record helps with mold damage claims. Mold that grows behind walls or under flooring often points to a long-term leak, and that cause can decide whether your claim is covered.
Start at the source. Note what you see at the point of intrusion: a dripping supply line, a cracked seal, a stained ceiling, a failed wax ring under a toilet, or condensation on a cold pipe.
Then map the moisture. A pin-type or pinless moisture meter gives you a number you can record, and the pattern of readings tells the adjuster whether the moisture is localized or widespread. Take readings at the same spots each time so you can show whether the area is drying or still wet.
- Test the baseboard and the drywall just above it, where water wicks upward
- Test both sides of a shared wall to see whether moisture crossed into an adjacent room
- Test the floor near the source and several feet away to establish the spread
- Photograph the meter display next to the surface being tested so the number and location are tied together
Thermal imaging can reveal cooler, wet areas behind drywall or under flooring without opening anything. If you do not own a camera, many hardware stores rent them, and a licensed inspector can scan the whole structure.
Do not cut open walls just to take pictures. If you suspect mold inside a cavity, note the suspicion, photograph the exterior of the wall, and ask a licensed inspector or mold assessor to document the concealed area.
Watch out: Removing baseboard, drywall, or flooring to "see how bad it is" can erase the moisture pattern and the source evidence the insurer would have used to connect the mold to a covered event. When in doubt, document first and let a professional open the structure.
Keep a simple moisture log alongside your photos. One row per reading, with date, time, room, location, meter reading, and photo file name, gives you a dated record of how the moisture behaved over the days before remediation began.
Build a Room-by-Room Damage Inventory and Evidence Log
A simple log keeps your claim organized from day one and gives the adjuster a single document that ties every photo, receipt, and reading to a specific room and date. Build a reusable system now and you will not have to reconstruct your records later.
Create a spreadsheet with one tab for the evidence log and one tab for costs. Use these columns in the evidence log:
- Entry number (sequential, so nothing is missed)
- Date and time of entry
- Room and location within the room
- Item or material affected
- Description of damage (what you see, not what you assume caused it)
- Photo or video file name
- Moisture reading, if taken
- Whether the item was discarded, kept, or removed by a contractor
Name your files in a consistent pattern so they sort in order and match the log. A workable format is date, room, location, and sequence: "2026-11-04_Basement_NorthWall_01.jpg." Use the same room names in the log and the file names, and never rename a file after you log it. If you shoot video, name it the same way and note the start and end time in the description column.
Walk each room in a set order, for example, start at the point of intrusion and move clockwise, and record everything, even small damage. Undercounting is one of the most common reasons claims shrink later, and a consistent walk order makes it obvious when a room was skipped.
Build a claim timeline on a second tab. One row per event, with date, time, what happened, and who was involved:
- Date and time you discovered the damage and how you found it
- Date you stopped the water or called a contractor
- Date you notified the insurer and the claim number you were given
- Date of the adjuster's inspection and what was inspected
- Date remediation or repairs began and the scope of work
- Date each phase ended and any receipts issued
Save every email, text, and call record with the claim number in one folder, and note each contact in the timeline. If the insurer disputes the cause, scope, or estimate later, this dated sequence is what lets you show exactly what was documented and when.
Keep the log and the photo files backed up to a cloud account, and export a PDF of the spreadsheet at the end of each week. A lost phone or a crashed laptop should not erase your proof.
Watch out: A log that is filled in from memory weeks later is far weaker than one updated the same day. Add entries as you go, even if the description is rough, and refine the wording later without changing the dates.
Record Personal Property, Repair Receipts and Cleanup Costs
Your claim covers more than walls and floors. Make a list of damaged personal property, including furniture, electronics, clothing and appliances. Note the brand, age, and what you paid. Photograph each item and keep any original receipts, warranty cards or online order confirmations.
Save every receipt for emergency repairs, water extraction, drying equipment and cleanup supplies. Keep a separate folder for these costs so you can total them quickly.
Track your time, too. If you had to stay in a hotel or buy replacement items while your home was unlivable, save those receipts as well.
How to Write a Damage Report for Insurance That Holds Up
A damage report is a written summary of what happened, what you found and what it cost. Strong reports are factual, dated and tied to your photos.
Include these details:
- The date you discovered the damage and how
- The likely water source, based on your observations
- A room-by-room list of affected areas
- Links or file names for supporting photos and videos
- A list of personal property with values
- Copies of receipts and inspection reports
Stick to what you can verify. Do not guess at causes or exaggerate costs. A calm, accurate report is far more persuasive than an alarming one.
Filing Your Claim and Keeping a Timeline Through Remediation
Contact your insurer as soon as you can. Many policies require prompt notice, and waiting can cause problems.
Keep a timeline from discovery through remediation. Note when the adjuster visited, when repairs began and when each phase ended. Save every email and call record with the claim number.
Keep in mind that policies differ. Some cover sudden leaks but exclude long-term seepage, and mold coverage often has limits. Read your policy and ask the insurer to explain any exclusion in writing. For details on what your policy may cover, the Insurance Information Institute guidance on homeowners claims is a useful starting point.
When it comes time to choose a remediation company, ask whether they will document work for your insurer. Clear records make the claim process smoother for everyone.
Your Next Step: Schedule a Documented Inspection With AFC Clean
At AFC Cleaning & Restoration, we help Kansas City homeowners and property managers with water and mold damage. Our IICRC-certified technicians are available 24/7, 365 days a year, and we have served the Kansas City area since 2003.
Frequently Asked Questions
How do you write a damage report for an insurance claim?
Start with the date, property address, cause of loss as you observed it, and a room-by-room list of affected areas and materials. Describe what you saw, such as visible staining, odor, or swelling, and note measurements where you took them. Attach your photos and video with dates and file names that match the report. Avoid guessing about the cause or the value of damaged items. If a professional inspection was done, reference its findings and attach the report. Keep the tone factual so your adjuster can verify each statement against the evidence.
What photos and records should you collect for a mold insurance claim?
Take wide shots of each room, close-ups of visible mold, and photos of the moisture source such as a leaking pipe or failed seal. Record video walking through each affected area with the date visible. Keep moisture readings, any professional inspection report, repair receipts, and emergency service invoices. Store originals in a backed-up folder and avoid editing images. Consistent file naming, like 2026-03-14_kitchen_ceiling_closeup.jpg, makes the evidence easier for an adjuster to follow.
Should you document mold damage before starting cleanup?
Yes. Document the damage before removing materials, cleaning surfaces, or discarding items. Photographs and notes taken after cleanup begins may not show the original extent of the loss. If you must act to prevent further damage, such as drying a space or shutting off water, document the scene first and keep receipts for those steps. Preserve a sample of damaged materials when practical, and check with your insurer before discarding anything.
Does homeowners insurance cover mold removal?
Coverage depends on your policy and on what caused the mold. Many policies cover mold that results from a sudden, covered event such as a burst pipe, but may exclude long-term seepage or poor maintenance. Review your policy's mold provisions and any sublimits, and ask your insurer to explain them in writing. Thorough documentation of the cause and timing of the moisture helps establish whether the loss is covered.
Schedule your inspection and get a clear, documented assessment before cleanup begins. You can also visit our restoration services page to see how we handle water and flood damage from start to finish.