 how-to
How to Identify Hidden Mold Growth: A 7-Step Guide
Table of Contents
- What You'll Need Before You Start Inspecting
- Step 1: Follow the Musty Smell in Your House When No Mold Is Visible
- Step 2: Look for Signs of Mold Behind Walls and Under Floors
- Step 3: Check High-Risk Areas for Hidden Mold Growth
- Step 4: Use Tools to Detect Moisture and Mold Colonies
- Step 5: Mold Testing Kits vs Professional Inspection: Which Do You Need?
- Step 6: Recognize Health Symptoms That Point to Hidden Mold Growth
- Step 7: Know When to Call a Professional for Mold Remediation
- Frequently Asked Questions
Last Updated: October 1, 2026
What You'll Need Before You Start Inspecting
Hidden mold growth spreads inside walls, under floors, or above ceiling tiles where you cannot see it, feeding on moisture from leaks, condensation, or flooding. By the time you smell it, colonies are often well established.
At AFC Cleaning & Restoration, we've walked into hundreds of homes where the mold was never visible until we opened a wall. This guide shows you how to find it first.
Gather these items before you start:
- A bright flashlight
- A hygrometer to measure humidity
- A moisture meter
- A screwdriver or awl
- A notepad or phone for photos
- A respirator mask and gloves
The EPA's mold guidance for homeowners recommends protecting your lungs before you disturb any suspect area. A quick walkthrough takes about 30 minutes. A full inspection takes longer.
Step 1: Follow the Musty Smell in Your House When No Mold Is Visible
A musty smell in the house with no mold visible usually means growth is trapped behind a surface. Trust your nose here. Mold gives off microbial compounds that create that earthy, damp odor.
Work room by room and note where the smell gets stronger. Common hotspots include:
- Bathrooms and laundry rooms
- Basements and crawl spaces
- Under kitchen sinks
- Around HVAC vents
- Closets against exterior walls
If the odor peaks near a wall or cabinet, that surface is your starting point. Don't tear anything open yet. First, confirm the source with the steps below.
Step 2: Look for Signs of Mold Behind Walls and Under Floors
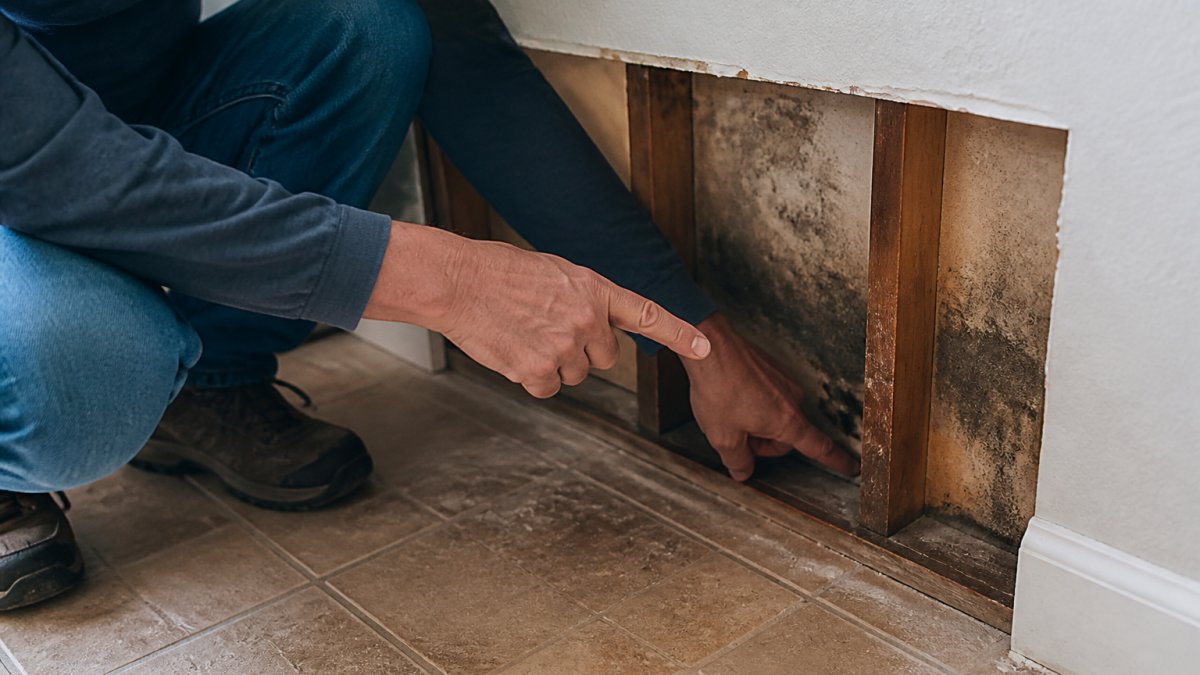
Signs of mold behind walls include discoloration, bubbling paint, warped baseboards, and soft spots in drywall. These clues show water intrusion happened, even if you never saw a leak.
Start at the floor and work upward. Water pools low and wicks into porous materials.
Check for:
- Water stains or yellow rings on walls and ceilings
- Paint that bubbles, peels, or feels spongy
- Baseboards that pull away from the wall
- Dark spots along drywall seams
- Lifted or cupped floorboards
- A subfloor that feels soft underfoot
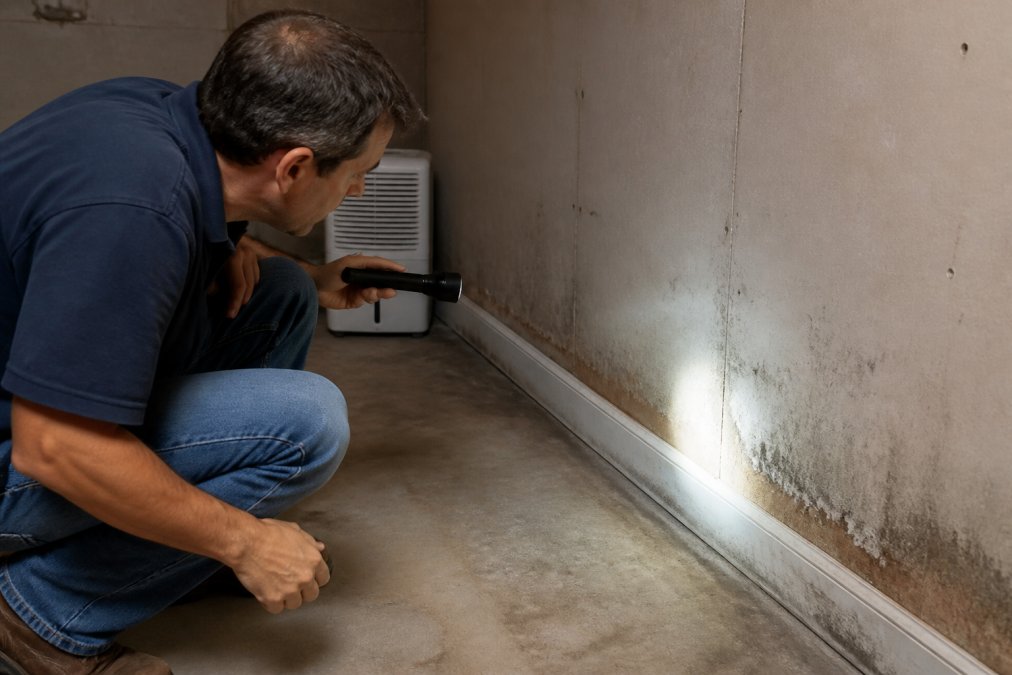
Pay close attention to wallpaper. It traps moisture against drywall and hides colonies until they spread. If a corner feels damp or looks discolored, mark it and keep going.
Step 3: Check High-Risk Areas for Hidden Mold Growth
Hidden mold growth clusters in spots that stay damp. Humidity above 60% keeps surfaces wet enough for spores to settle and grow.
Your high-risk list:
- Ceiling tiles below bathrooms or roofs
- Subfloor around toilets, tubs, and dishwashers
- Wall cavities behind showers
- Attics with poor ventilation
- Crawl spaces with exposed soil
- Areas near the HVAC system and air handler
Condensation on pipes and windows feeds mold too. The coldest surface in a damp room is where growth starts first, so check it before anything else.
Step 4: Use Tools to Detect Moisture and Mold Colonies
A moisture meter, a hygrometer, and a thermal camera each answer a different question. Used together, they turn a vague musty smell into a mapped problem; used alone, any one can send you chasing the wrong wall.
Hygrometer (humidity). This measures relative humidity. Above roughly 60%, surfaces stay wet enough for spores to settle and grow; most building scientists aim for 30%-50%.
A simple inspection toolkit:
| Tool | What It Finds | Where to Use It | Watch Out For |
|---|---|---|---|
| Hygrometer | Sustained high humidity | Every room, 30-60 min per spot | Short-term spikes after showers |
| Pin moisture meter | Wet materials | Walls, floors, wood, framing | Metal studs and corner bead |
| Pinless moisture meter | Broad damp zones | Walls, ceilings before cutting | Density changes, metal |
| Thermal camera | Cool (likely damp) surfaces | Walls, ceilings, around pipes | Cold from drafts, not moisture |
| Flashlight | Discoloration, shadow lines | Corners, cavities, seams | Ambient light washing out clues |
| Awl | Soft, rotted wood | Baseboards, framing, subfloor | Damaging sound material if forced |
Step 5: Mold Testing Kits vs Professional Inspection: Which Do You Need?
- Settle plates / petri dishes. You leave an open dish out for 24-48 hours and see what grows. This tells you spores are in the air, which they always are. It cannot tell you whether you have a problem, since every home has some mold spores. Treat a positive result as meaningless on its own.
- Surface swabs or tape lifts. You rub a swab or press tape on a visible spot and mail it to a lab. This identifies what's growing at that exact spot. Useful for confirming that a dark stain is mold and not dirt or mildew, but it says nothing about what's inside the wall.
- Air sampling kits (viable or non-viable). You run a small pump for a set period and send the cassette to a lab, which gives a spore count per cubic meter compared against an outdoor control sample. This is the closest a DIY kit gets to a professional result, but it only captures what's airborne at that moment, and a colony sealed inside a wall cavity may not shed enough spores to register.
Choose a DIY kit when:
- You have a small, visible stain and want to know if it's mold or mildew
- You're deciding whether a spot is worth a professional visit
- You own the home and the affected area is under a few square feet
Choose a professional inspection when:
- The musty smell has no visible source
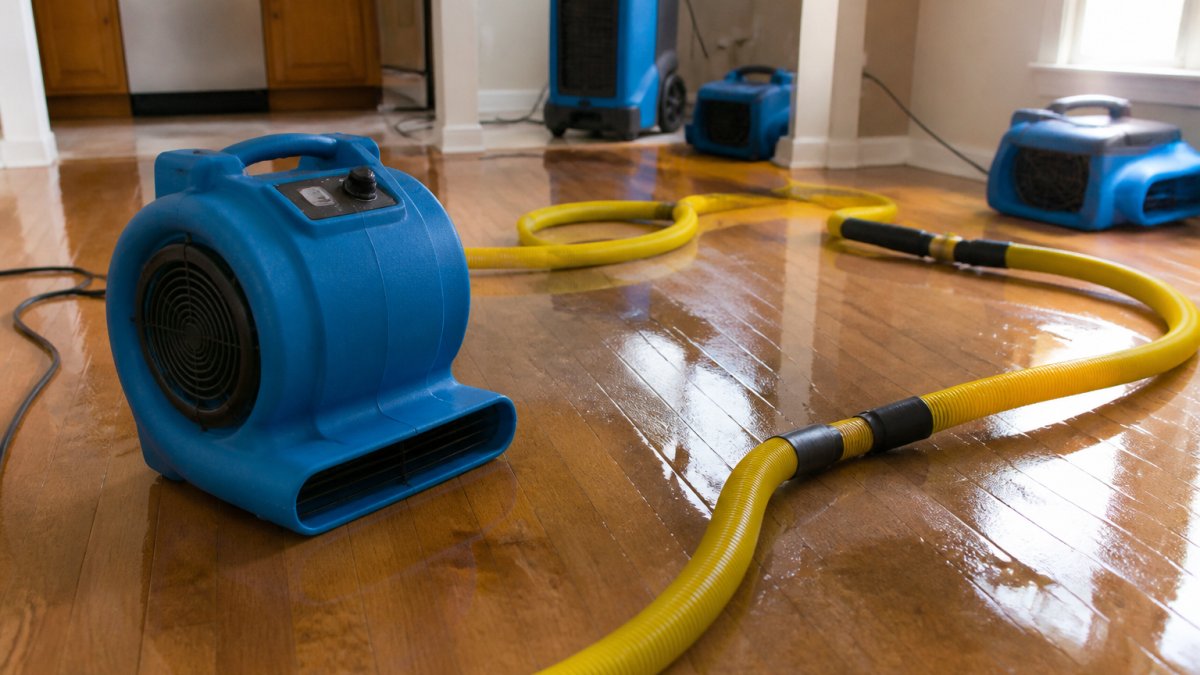
- You've had flooding, a slow leak, or a sewage backup
- The affected area is larger than a few square feet, or you suspect it's inside a wall or HVAC system
- Anyone in the home has asthma, allergies, or a compromised immune system
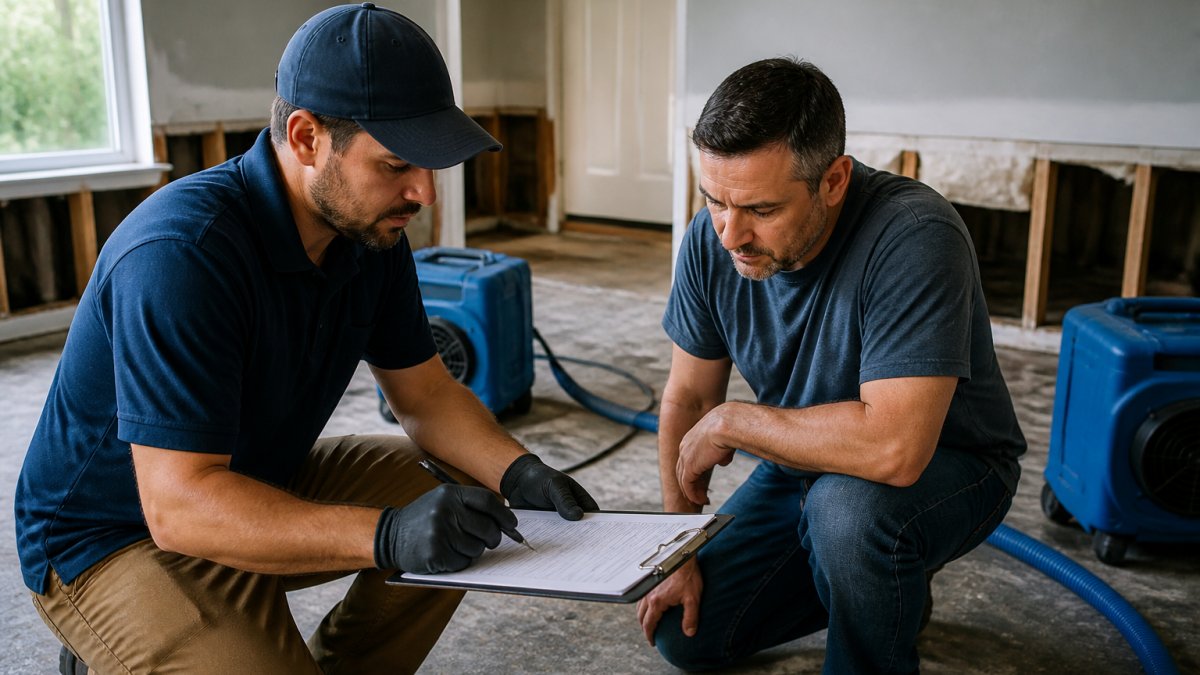
- You're buying or selling a home and need documentation
- Photograph and date every visible sign, discoloration, bubbling paint, warped baseboards, condensation.
- Log symptoms with dates and times, and note whether they ease when you're away.
- Report the issue to your landlord in writing (email or a dated letter, not a phone call) and keep a copy.
- If the landlord doesn't respond, a DIY air sample with a lab report gives you third-party documentation that a phone complaint does not.
The CDC's page on mold and your health notes that some people are more sensitive to mold than others. If anyone in the home has breathing problems, skip the kit and go straight to an inspection.
Step 6: Recognize Health Symptoms That Point to Hidden Mold Growth
Health symptoms linked to mold exposure often show up before you find the source. They tend to ease when you leave the building and return when you come back.
Watch for:
- Stuffy nose, sneezing, or itchy eyes
- A cough that lingers
- Headaches or fatigue
- Skin irritation
- Worsening asthma or allergy symptoms
Step 7: Know When to Call a Professional for Mold Remediation
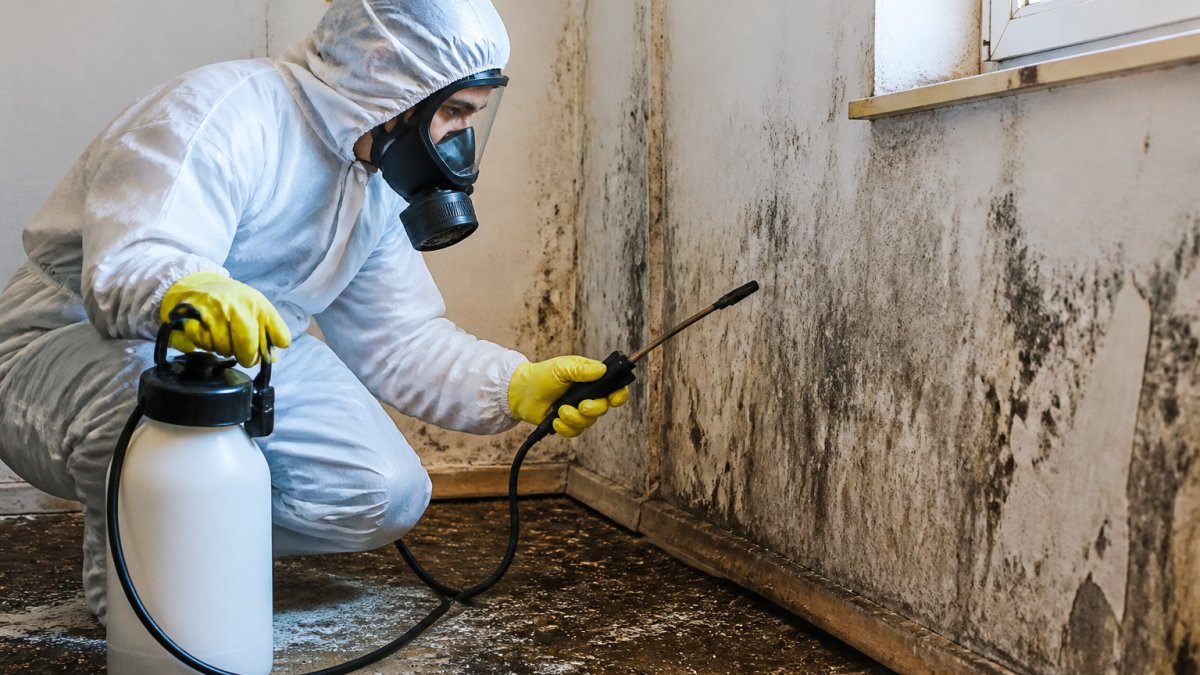
Call a professional when hidden mold growth covers more than a small patch, follows a flooding event, or sits inside a wall cavity you can't safely open. Disturbing mold without containment spreads spores through the HVAC system and into other rooms.
Signs it's time to bring in help:
- A musty odor with no visible source
- Mold near or inside the HVAC system
- Growth after sewage or flood water
- Structural damage like soft framing or sagging ceilings
- Recurring mold after you've cleaned it
Frequently Asked Questions
How can I tell if there is mold behind my drywall?
Look for water stains, bubbling paint, or soft spots on the wall. A musty odor in one room often points to mold behind the drywall. You can also use a moisture meter to check for dampness. If the drywall feels cold or sweaty, moisture is likely trapped inside. When these signs appear, cut a small hole or call a professional to inspect further.
Is it possible to detect mold without professional testing?
Yes, you can detect hidden mold growth by using your senses and simple tools. Smell for a musty odor, look for discoloration or water stains, and use a hygrometer to check humidity levels. A moisture meter or thermal imaging camera can find damp spots behind walls. However, these methods only suggest mold presence; professional testing confirms the type and extent.
What are the common physical signs of hidden mold growth?
Common signs include a persistent musty smell, visible water stains on ceilings or walls, peeling paint, and warped floorboards. You might also notice increased allergy symptoms like sneezing or coughing indoors. Condensation on windows and high humidity levels are other clues. If you spot any of these, inspect further or call a professional for mold remediation.
When should I call a professional for mold inspection?
Call a professional if you smell a musty odor but cannot find the source, if you see water damage larger than 10 square feet, or if you experience ongoing health issues. Also, if you have a HVAC system with visible mold or if the mold returns after cleaning, professional help is needed. IICRC-certified technicians can assess and safely remove hidden mold.