 how-to
How to Stop Basement Mold Growth for Good
Table of Contents
- Why Basement Mold Growth Keeps Coming Back
- Step 1: Find and Fix the Water Source First
- Step 2: How to Fix Basement Moisture Problems with Ventilation and Airflow
- Step 3: Pick the Best Dehumidifier for Basement Mold and Set It Up Right
- Step 4: Clean and Disinfect Moldy Surfaces by Material
- Why Does My House Smell Musty After Heavy Rain?
- When to Call a Professional for Mold Remediation
- Your Long-Term Basement Mold Prevention Plan
- Frequently Asked Questions
Last Updated: September 9, 2026
Basement mold growth is not a cleaning problem; it is a water problem. Mold spores are present in virtually every home, but they only colonize surfaces where relative humidity exceeds 60 percent or where liquid water lingers. This guide from AFC Cleaning & Restoration walks through the permanent fix, from the water source to a monitoring routine.
Why Basement Mold Growth Keeps Coming Back
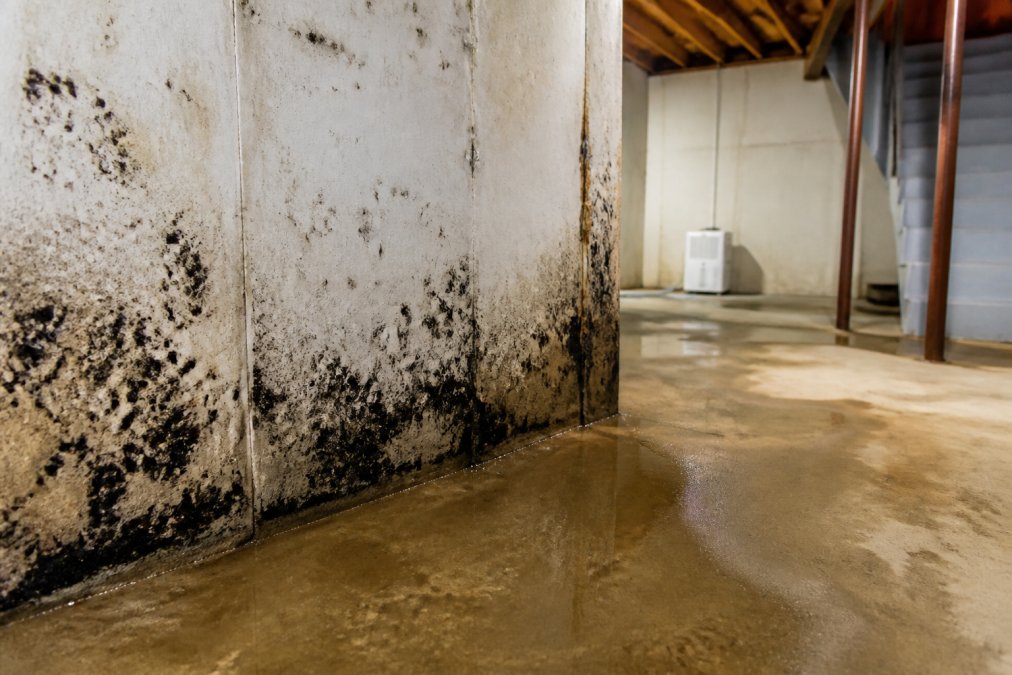
The single most common reason basement mold growth returns is that the underlying moisture issue was never resolved. Homeowners scrub the walls, the mold disappears, then reappears.
Basement mold growth is a symptom of excess moisture, not an independent problem. The Environmental Protection Agency EPA guidance on mold remediation in schools and commercial buildings is clear that the key to prevention is moisture control, and that remediation efforts will fail if the water source remains.
Most basements have one of three moisture profiles, each requiring a different response:
- Seepage: Liquid water entering through foundation cracks, wall-floor joints, or window wells
- Condensation: Warm, humid air hitting cold concrete or pipes during summer months
- Chronic dampness: High relative humidity from poor ventilation, often above 60 percent year-round
Identify which profile matches your basement before buying any equipment. A dehumidifier will not stop seepage, and waterproofing alone will not fix a condensation problem.
Step 1: Find and Fix the Water Source First
Start by walking the basement after the next heavy rain and looking for active water entry. Check the base of the walls, the floor-wall joint, around floor drains, and behind stored items. Staining, efflorescence (white chalky residue), or rust on stored metal are historical markers of water intrusion.
For interior water entry, the practical fixes are:
- Seal foundation cracks with an epoxy or polyurethane injection
- Ensure gutters discharge at least 6 to 10 feet away from the foundation
- Grade soil so it slopes away from the house over the first 10 feet
- Install or test a sump pump if groundwater is your issue
A working drainage system is the backbone of a dry basement. The FEMA guidance on basement flooding and waterproofing recommends inspecting sump pumps and drainage before the wet season, not after the first storm. If water is actively entering the basement, no amount of cleaning or dehumidifying will produce a permanent result.
Step 2: How to Fix Basement Moisture Problems with Ventilation and Airflow
Once liquid water entry stops, the next battle is against humidity and stagnant air. How to fix basement moisture problems comes down to increasing air exchange and reducing the humidity load.
Air exchange rate is the key metric. Building science practitioners generally recommend 0.35 air changes per hour for habitable basements, roughly 15 CFM of fresh air for a 500-square-foot basement with 8-foot ceilings, or about 30 CFM for 1,000 square feet. Measure your current rate with a smoke pencil test: hold it near a closed exterior door and see if the smoke drifts toward the gap.
When to open windows, and when not to. Compare indoor and outdoor dew points. On a 75°F day with 50 percent relative humidity, the outdoor dew point is about 55°F, that air will add moisture to a cool basement. Only open windows when the outdoor dew point is at least 5°F below the indoor dew point; in many climates, that means windows stay closed from June through August.
Exhaust fans: size and placement matter. For finished basements without operable windows, an exhaust fan vented outside is the primary ventilation tool. Size it at 1 CFM per square foot for intermittent use, or 0.35 CFM per square foot for continuous operation, a 600-square-foot basement needs a 600 CFM fan for intermittent use. Install it opposite the main air intake to create a cross-draft, and run it during and for 30 minutes after moisture-generating activities.
Air circulation is separate from air exchange. Stagnant corners behind furniture and storage bins create microclimates where mold thrives. Place a box fan at floor level, angled slightly upward, in the corner farthest from the dehumidifier to push air across the cold concrete floor and toward the dehumidifier's intake. For finished basements with multiple rooms, install a small in-wall transfer fan (about 100 CFM) between rooms.
Seasonal ventilation strategy. In winter, run the exhaust fan intermittently (15 minutes per hour) to bring in dry outdoor air without dropping the temperature below 50°F. In summer, close windows and rely on the dehumidifier plus a single exhaust fan during peak humidity hours (3 p.m. to 7 p.m.). In spring and fall, open windows wide for a full day once a week when outdoor dew points are low.
A hygrometer is essential here. Relative humidity should stay between 30 and 50 percent; above 60 percent is the danger zone. Pair it with a carbon dioxide monitor (indoor CO2 above 800 ppm indicates poor ventilation) for a complete picture of air quality.
Step 3: Pick the Best Dehumidifier for Basement Mold and Set It Up Right
The best dehumidifier for basement mold is sized to the square footage and moisture load, not the cheapest unit on the shelf. A unit rated for a small bedroom will run continuously in a 1,500-square-foot basement and still fail to hold humidity below 50 percent.
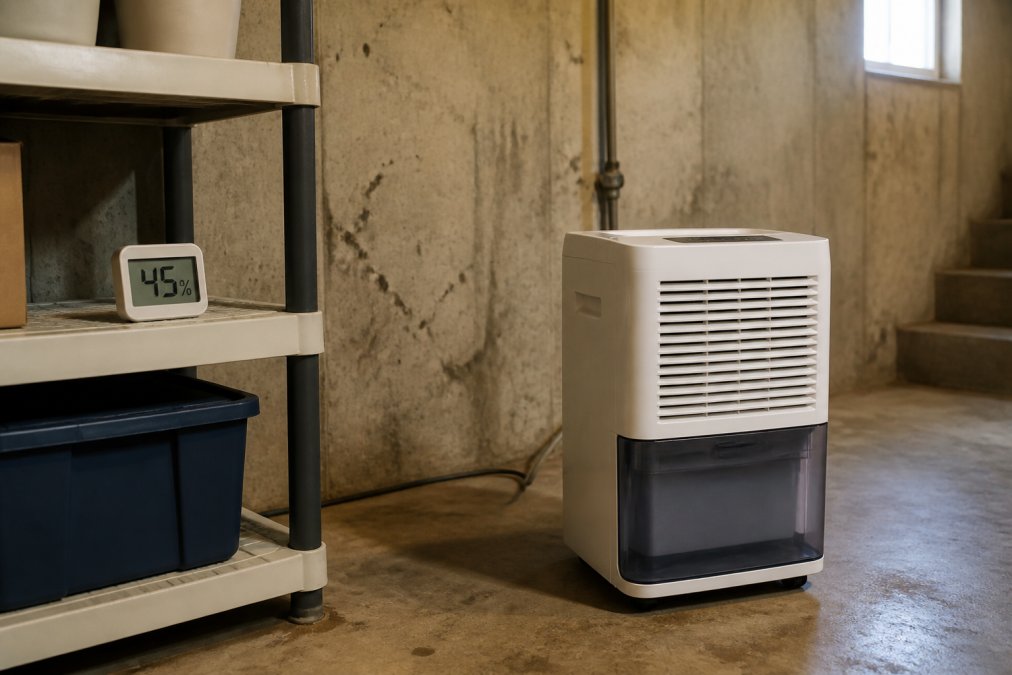
Use this sizing guide as a starting point:
| Basement Size | Recommended Capacity | Typical Use |
|---|---|---|
| Under 500 sq ft | 30 to 40 pints per day | Damp, not actively wet |
| 500 to 1,000 sq ft | 40 to 50 pints per day | Moderate moisture issues |
| Over 1,000 sq ft | 60+ pints per day | Chronic dampness or two units |
Set the dehumidifier to 50 percent relative humidity and let it run continuously. Empty the collection tank on a schedule, or connect a drain hose to a floor drain so the unit never shuts off on a full tank. Clean the air filter monthly.
Place the unit centrally, away from walls, where it can pull air from the whole space. For multiple rooms, you may need a second unit or one with a built-in pump to push water to a drain.
Step 4: Clean and Disinfect Moldy Surfaces by Material
Cleaning method depends entirely on what the mold is growing on. Porous and non-porous materials require different approaches, and treating them the same way is a common error.
For non-porous surfaces (glass, metal, plastic, sealed concrete):
- Vacuum loose mold with a HEPA vacuum to avoid stirring spores into the air
- Scrub the surface with a detergent solution and water
- Disinfect with a diluted bleach solution, no more than 1 cup of bleach per gallon of water
- Dry the surface completely within 24 hours
For semi-porous surfaces (unsealed wood, drywall, OSB):
- Vacuum with a HEPA vacuum
- Scrub gently with detergent and water, avoiding saturation
- Allow the material to dry fully
- Apply a mold-inhibiting primer or sealant designed for the material
For porous materials (carpet, padding, insulation, ceiling tile), cleaning is rarely sufficient. These materials trap spores deep within their structure, and the CDC guidance on mold cleanup recommends removing and replacing them when they are contaminated. Trying to salvage saturated carpet or insulation typically leaves a musty odor and a hidden reservoir of mold growth.
Why Does My House Smell Musty After Heavy Rain?
A musty odor after heavy rain is the smell of microbial volatile organic compounds, the gases mold and mildew release as they digest organic material. The smell means active growth is happening somewhere, even if you cannot see it.
The source is often hidden: behind drywall, under carpet padding, inside wall cavities, or behind baseboards where rainwater has seeped in. A musty smell is frequently the first warning sign of basement mold growth that precedes any visible colony.
Track the odor to its source. Follow your nose to the strongest point, then inspect behind and beneath likely entry paths. If the smell persists after cleaning visible mold and controlling humidity, you may have hidden growth requiring professional investigation.
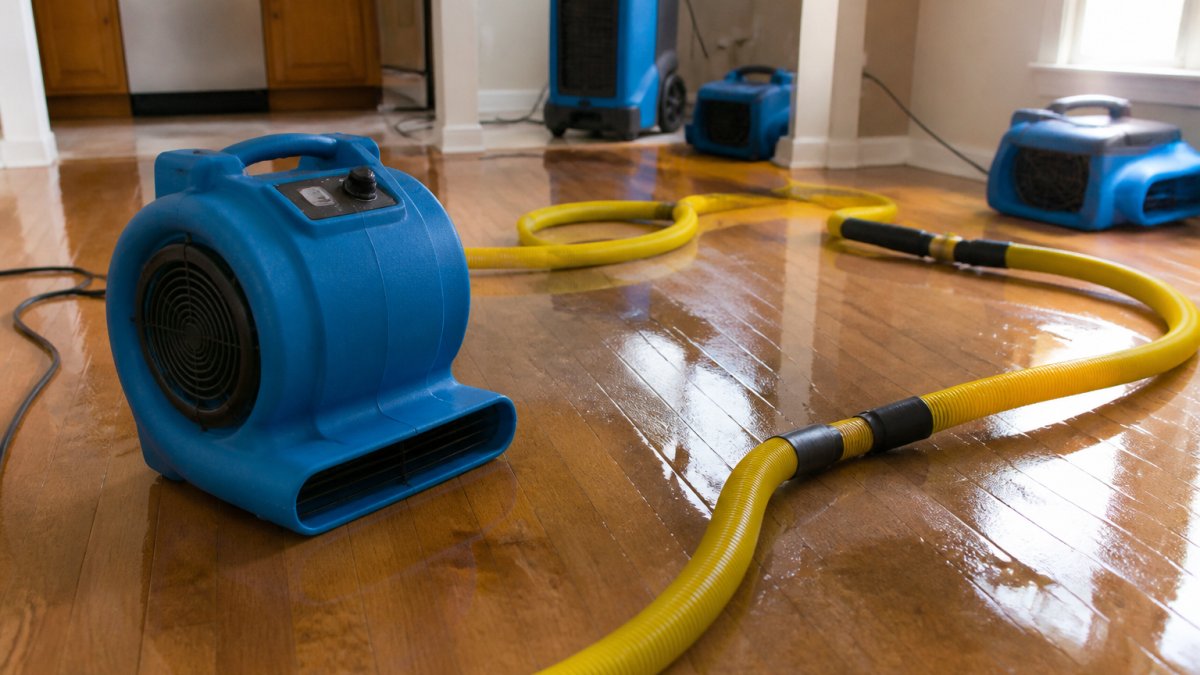
If the rain event caused visible water entry, treat it as a flood event and dry the space within 24 to 48 hours. Structural materials that stay wet beyond that window will almost certainly develop mold growth that requires removal.
When to Call a Professional for Mold Remediation
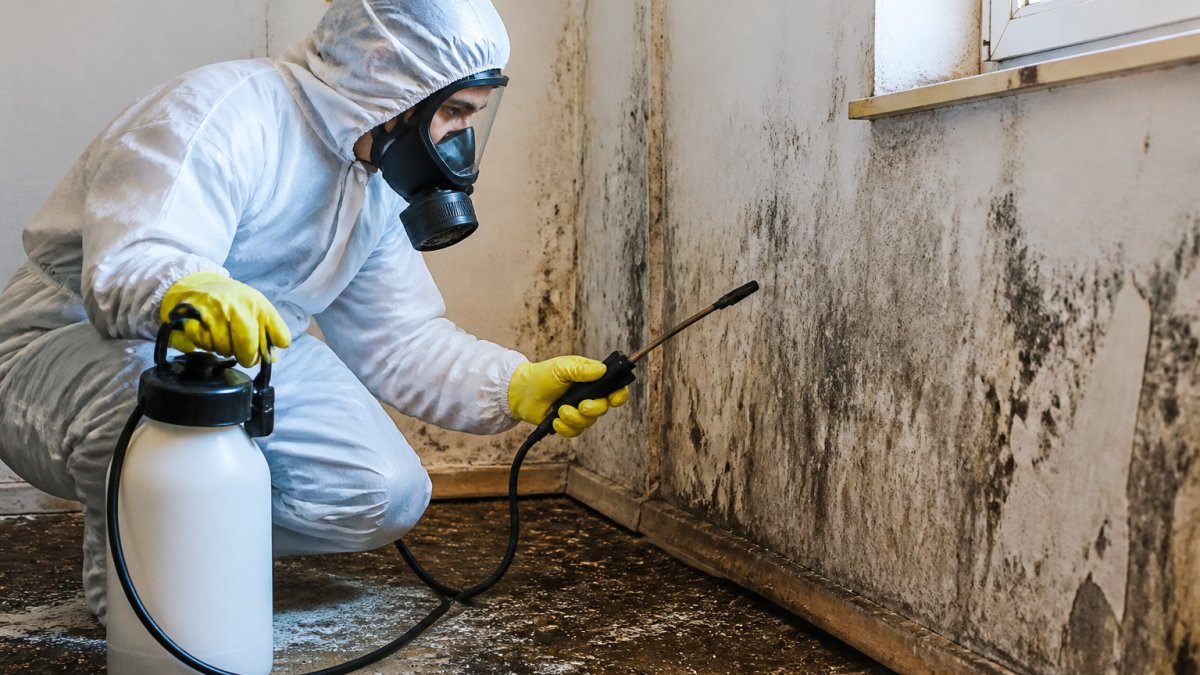
Call a professional when the affected area exceeds roughly 10 square feet, when mold is inside HVAC ducts, or when porous materials like drywall and insulation are heavily contaminated. The EPA advises that large infestations and those in HVAC systems warrant professional remediation.
Professionals bring equipment most homeowners do not have: commercial air scrubbers, negative air machines, HEPA vacuums, and moisture meters that detect hidden dampness inside walls. They also know how to contain the work area so spores do not spread during removal.
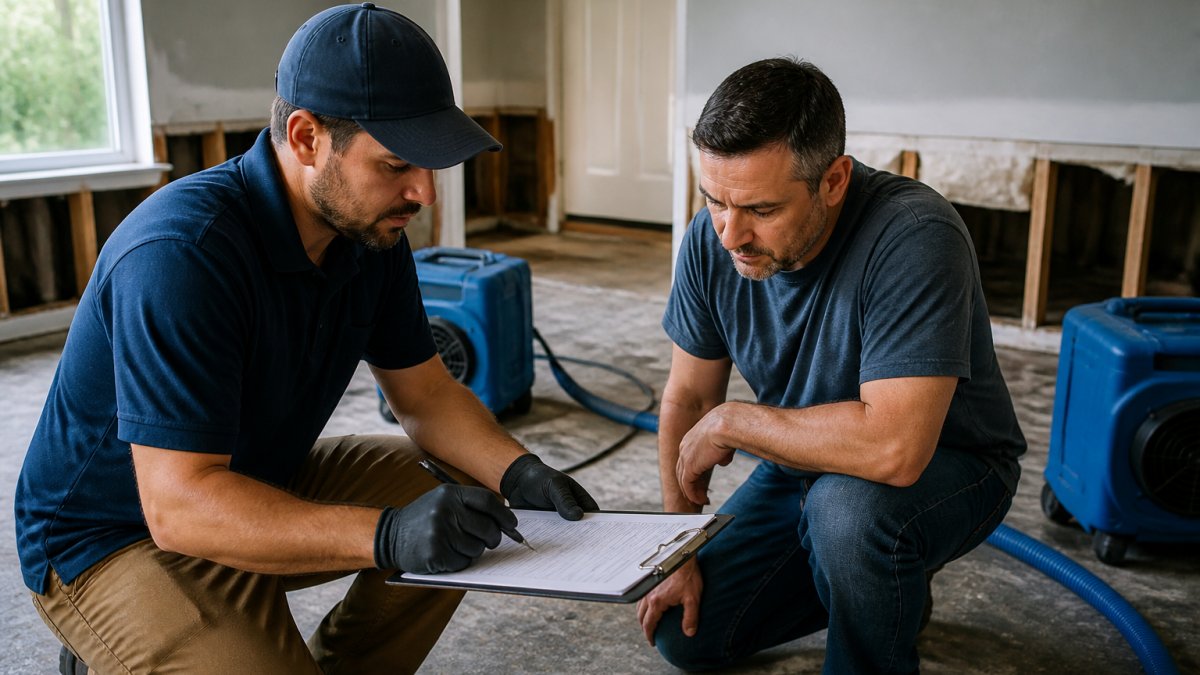
At AFC Cleaning & Restoration, our IICRC-certified technicians handle flood water damage repair and comprehensive mold removal for both residential and commercial properties across the greater Kansas City area. We are available 24/7, 365 days a year. If you are facing a large infestation, a flooded basement, or mold inside your HVAC system, professional remediation can help.
Your Long-Term Basement Mold Prevention Plan
Prevention is a monitoring habit, not a one-time project. Most guides stop at "check your dehumidifier monthly", but the real gap in long-term prevention is continuous, real-time data. None of them tell you how to build a smart monitoring system that catches problems before they become visible.
Build a smart moisture monitoring network. A single hygrometer in the center of the basement gives you one data point. Mold does not grow uniformly, it grows in the corner behind the storage rack, under the workbench, or along the north wall where the concrete stays coldest. The fix is a network of three to four wireless sensors placed strategically:
- One sensor near the floor on the coldest exterior wall (usually north-facing), this catches condensation events before they spread
- One sensor in the storage area where boxes and furniture block airflow
- One sensor near the sump pump or floor drain, this catches groundwater seepage and pump failures early
- One sensor in the HVAC return duct if you have forced air, this monitors the whole-house humidity load
Choose sensors that report to a central hub over Wi-Fi or Zigbee, not Bluetooth-only models that require you to be within 30 feet to read them. Look for units with a stated accuracy of ±2 percent relative humidity or better, cheaper sensors drift by 5 percent or more.
Set threshold alerts, not just readings. The value of smart sensors is not the live readout, it is the alerts. Configure your system to notify you when:
- Relative humidity exceeds 55 percent for more than 2 consecutive hours
- Temperature drops below 55°F on the exterior wall sensor (condensation risk)
- The dehumidifier's collection bucket fills (if it is not on a drain hose)
- A water leak detector near the sump pump or water heater triggers
Add leak detectors at the water entry points. Smart leak detectors cost $15 to $30 each and are the cheapest insurance you can buy. Place them:
- On the floor at the base of the sump pump
- Under the water heater
- At the floor-wall joint where seepage historically appears
- Behind the washing machine
These sensors sound an audible alarm and push a notification to your phone. A slow seep that would take weeks to become visible mold becomes a same-day alert instead.
Automate the response. The best smart systems do not just notify you, they act. A smart plug on the dehumidifier can be programmed to turn on when the humidity sensor reads above 55 percent, and off when it drops below 45 percent. An exhaust fan on a smart switch can be set to run for 15 minutes every hour during summer when outdoor dew points are low. These automations remove the reliance on memory and manual checks.
Keep the manual checklist as a backup. Technology fails, batteries die, Wi-Fi drops, sensors drift. Maintain the quarterly manual inspection as a redundancy layer:
- Monthly: Check the sensor dashboard for trends, empty and clean the dehumidifier, verify sump pump operation by pouring water into the pit
- Seasonally: Re-caulk window wells, clear gutters and downspouts, inspect for new foundation cracks, test each sensor's battery and calibration
- After heavy rain: Walk the basement for active seepage, check stored items for dampness, review the sensor log for any humidity spikes you missed
The combination of continuous sensor data, automated responses, and a manual backup checklist catches moisture problems at the hour they start, not the month they become visible mold. That is the difference between prevention and repeated remediation.
Frequently Asked Questions
What kills mold in a basement permanently?
Killing mold permanently requires two actions: removing the existing growth and eliminating the moisture source. For non-porous surfaces, a detergent and water solution or a commercial fungicide kills surface mold. However, mold will return within weeks if the underlying humidity issue or water leak is not fixed. Keeping relative humidity below 50 percent with a properly sized dehumidifier and repairing foundation cracks or leaks is the only way to stop basement mold growth permanently.
Does a dehumidifier stop basement mold?
A dehumidifier is an essential tool for stopping basement mold, but it only works if the basement is sealed from outside water. Dehumidifiers lower relative humidity, which prevents mold spores from germinating. For most basements, set the dehumidifier to 50 percent humidity or lower. You also need to empty the collection tray regularly or connect a hose to a floor drain. A dehumidifier cannot fix active leaks or groundwater seepage, which require drainage and waterproofing solutions.
Is it safe to sleep in a basement with mold?
Sleeping in a basement with active mold growth is not recommended, especially for children, the elderly, or anyone with asthma or allergies. Mold spores circulate in the air and can trigger respiratory symptoms, headaches, and skin irritation even in healthy individuals. If you must use the space, isolate the affected area and run a HEPA air purifier. The safest approach is to remove the mold and fix the moisture problem before using the basement as a living or sleeping area.
How do I keep my basement dry to prevent mold without a sump pump?
If your basement lacks a sump pump, start by grading the soil away from your foundation so rainwater drains away from the house. Extend downspouts at least 6 feet from the foundation. Seal small cracks in the foundation walls and floor with hydraulic cement or an epoxy injection. Use a high-capacity dehumidifier connected to a drain to maintain low humidity. These steps control condensation and minor seepage, but a sump pump may still be necessary if you experience regular groundwater flooding.
Basement mold growth feels relentless because it is a symptom of an unresolved moisture problem. Fix the water entry, control the humidity, clean by material, and monitor consistently, and the mold stops coming back. AFC Cleaning & Restoration has served the Kansas City area since 2003 with IICRC-certified technicians who respond rapidly to water and mold emergencies. Contact us for a professional assessment, and we will help restore your property to its pre-disaster condition.