 how-to
Preventing Mold After a Water Pipe Burst: 2026 Guide
Table of Contents
- Step 1: Stop the Water and Assess the Damage
- How Long Does It Take for Mold to Grow After Water Damage?
- Step 2: Extract Standing Water and Remove Porous Materials
- Step 3: Dry and Dehumidify Within 24-48 Hours
- Step 4: Clean, Disinfect, and Sanitize Surfaces
- Signs of Mold Behind Walls After a Pipe Burst
- When to Call Professional Water Damage Restoration Services
- Insurance Documentation and Post-Remediation Testing
- Frequently Asked Questions
Last Updated: September 13, 2026
Step 1: Stop the Water and Assess the Damage
Preventing mold after water pipe burst damage starts with two actions in the first hour: shut off the water and call a licensed plumber. This guide from AFC Cleaning & Restoration walks through the full mold prevention timeline, from the moment water hits the floor to the final clearance check.
Water damage restoration removes standing water, dries structural materials, and cleans affected surfaces to return a property to a safe, dry condition. When a pipe bursts, that process starts immediately, because the clock on microbial growth begins the moment materials get wet.
Shut Off the Main Valve and Call a Plumber
Find your main shutoff valve and turn it clockwise until it stops. For a burst supply line, the fixture shutoff under the sink or behind the toilet may be faster. Once the flow stops, call a licensed plumber to repair or replace the failed section. Do not restore water pressure until the repair is complete.
Water Damage Assessment: Categories and Classes
Gray water is wastewater with some contamination, such as discharge from a washing machine or dishwasher. Black water is grossly contaminated water from sewage or ground-surface flooding, and it requires professional handling.
| Category | Source Example | DIY Safe? |
|---|---|---|
| Category 1 (clean) | Burst supply line | Often yes, if dried fast |
| Category 2 (gray) | Washing machine overflow | Limited |
| Category 3 (black) | Sewage backup | No |
Classes describe how much water the materials absorbed, from Class 1 (minimal) to Class 4 (deeply saturated, specialty drying needed).
How Long Does It Take for Mold to Grow After Water Damage?
Mold can begin colonizing wet materials in as little as 24 to 48 hours, which is why the first two days decide whether you have a drying job or a remediation job (the EPA). The EPA mold guidance for homeowners describes this window as the point at which mold spores that are already present in every home find the moisture they need to grow.
Mold spores exist in indoor air everywhere. They only need three things: moisture, a food source such as drywall paper or wood framing, and time. Remove the moisture fast enough and the spores never establish.
Step 2: Extract Standing Water and Remove Porous Materials
Standing water should be gone within hours, not days. The longer it sits, the further it wicks into the subfloor, wall cavities, and insulation.
Using a Wet/Dry Vacuum and Water Extraction
A wet/dry vacuum handles shallow standing water in small areas. Empty it frequently, and work from the deepest point toward the edges. For anything beyond a small puddle, truck-mounted water extraction pulls far more moisture out of carpet and pad in a fraction of the time.
Removing Carpet, Drywall, and Insulation
Porous materials that soaked up contaminated water usually cannot be saved: carpet, carpet pad, saturated drywall, and wet insulation. Cut drywall at least a few inches above the visible water line so the wall cavity can dry, and remove wet insulation rather than drying it in place.
Step 3: Dry and Dehumidify Within 24-48 Hours
Drying and dehumidifying within 24 to 48 hours is the core of mold prevention. Moisture control is a race, and your equipment determines whether you win it.
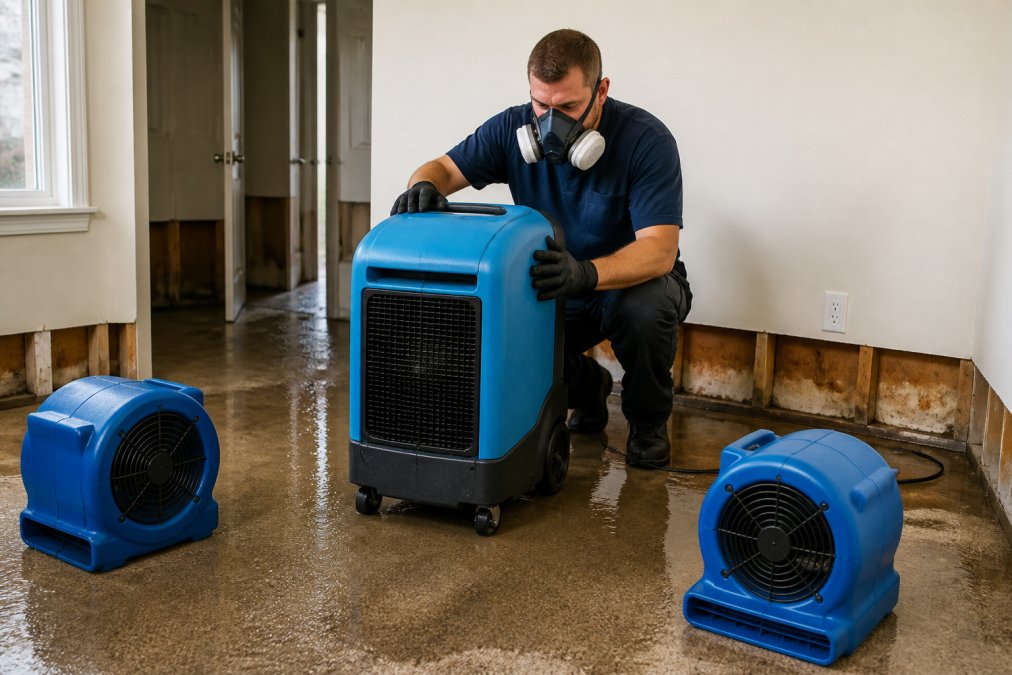
Air Movers, Dehumidifiers, and Ventilation
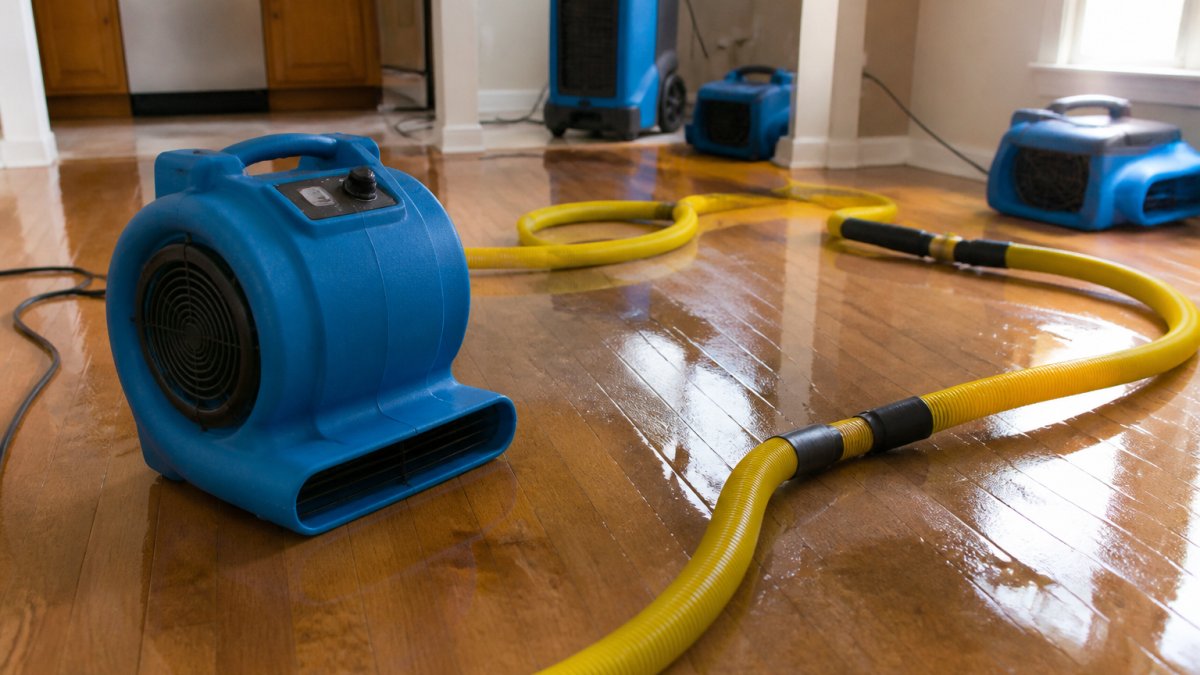
Air movers circulate air across wet surfaces to speed evaporation, and a dehumidifier pulls that moisture out of the air so it does not settle back onto materials. Open windows help only when outdoor humidity is low; in humid weather, they make things worse.
Monitoring Moisture with a Hygrometer
A hygrometer measures relative humidity, and a moisture meter reads water content inside materials. Check both daily, aiming to bring relative humidity and material moisture content back to normal dry-standard levels, not just until surfaces feel dry.
Step 4: Clean, Disinfect, and Sanitize Surfaces
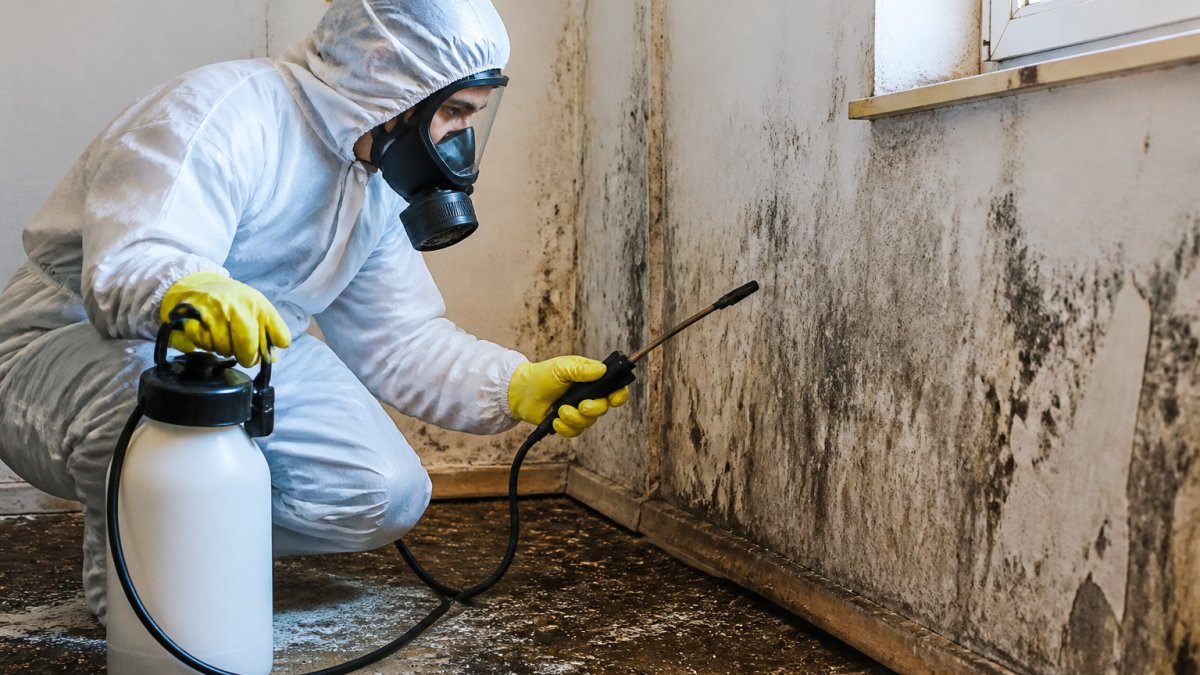
Cleaning and disinfecting come after drying, never before. Disinfectant applied to a still-wet wall does not reach the contamination trapped inside the material.
- Remove any remaining debris and vacuum surfaces with a HEPA vacuum to capture loose mold spores.
- Wipe hard surfaces with a disinfectant rated for the contamination category.
- Wear PPE, including gloves, eye protection, and an N95 or P100 respirator, any time you disturb moldy material.
- Throw away rags and disposable PPE in sealed bags.
Sanitization reduces the microbial load on surfaces that stay in place, such as framing and subfloor. It does not make a wet structure safe; it finishes a dry one.
Signs of Mold Behind Walls After a Pipe Burst
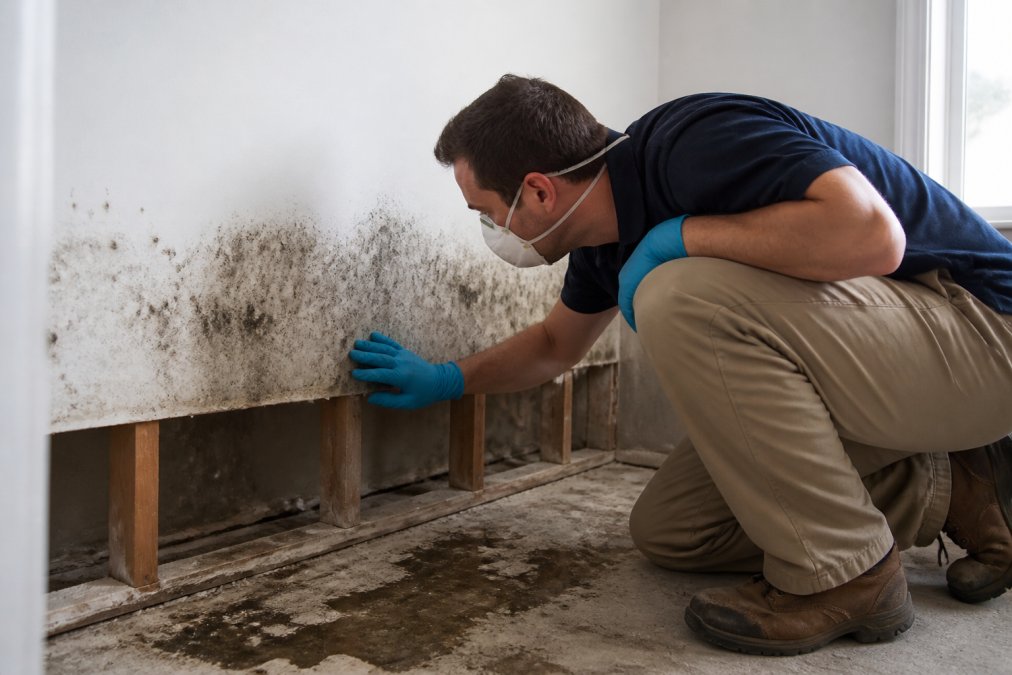
Signs of mold behind walls after a pipe burst include a musty, earthy smell that does not clear with ventilation, discolored patches on drywall or baseboards, and paint or wallpaper that bubbles, peels, or feels soft. Visible dark staining near a wall base is a strong indicator. But the most reliable signs are the ones you measure, not the ones you see.
What Hidden Mold Actually Looks Like
Mold grows on the back side of drywall paper, on wood framing inside the cavity, on the underside of subfloor sheathing, and on the paper backing of insulation, so from inside the room you may see nothing. A common pattern after a pipe burst is a wall that looks and feels dry on the room-facing side while the cavity behind it stays at elevated moisture for weeks.
Watch for these indirect signals:
- A musty odor that is strongest near one wall or one baseboard, not the whole room.
- Baseboards that feel cool or damp to the touch compared to adjacent walls.
- Paint or caulk that has developed fine cracks or a chalky film along the joint where wall meets floor.
- Drywall that sounds dull or soft when tapped, rather than crisp.
- Allergy-like symptoms, sneezing, itchy eyes, congestion, that improve when you leave the room and return when you come back.
How to Detect Hidden Mold with Tools
You do not need to cut open a wall to get useful evidence. Three tools do most of the work:
- Pin-type moisture meter. Press the pins into drywall, baseboard, and subfloor. Compare readings in the affected area against a known-dry reference wall in another room. A reading that stays elevated weeks after the leak points to moisture trapped in the cavity.
- Pinless (capacitive) moisture meter. This scans through the surface without leaving holes, which makes it useful for mapping how far the moisture spread along a wall before you decide where to open it.
- Thermal imaging camera. Wet materials hold temperature differently than dry ones, so an infrared camera can reveal a cool band behind drywall that does not match the surrounding surface. Thermal imaging does not confirm mold, it confirms moisture, but it tells you where to look.
A moisture meter reading is the single most useful evidence you can collect. Log the reading, date, and location; if the number does not fall toward the dry standard over several days of drying, the cavity is still wet and mold growth is likely.
When to Open the Wall
If a moisture meter reads high behind a wall, a thermal scan shows a persistent cool band, or a musty odor will not clear after drying, make a small inspection opening. Cut a 6-by-12-inch hole at the base of the wall between studs, look inside with a flashlight, and check the back of the drywall and the framing. If you find growth, the affected drywall typically needs to come out so the cavity can be cleaned and dried; if the cavity is clean and dry, the hole can be patched.
If you notice these signs, stop patching and start investigating. CDC information on mold and your health explains why damp indoor environments should be corrected promptly rather than lived with.
When to Call Professional Water Damage Restoration Services
Call professional water damage restoration services when the water was contaminated, more than a small area is affected, or materials are still wet after 48 hours of DIY drying. Professional restoration combines water extraction, structural drying, and remediation in one coordinated process.
AFC Cleaning & Restoration has served the greater Kansas City area since 2003 with IICRC-certified technicians and 24/7 emergency response, for both homes and commercial buildings.
DIY vs. Professional Threshold
Use this threshold to decide:
- DIY: clean-water (Category 1) source, under roughly 10 square feet, stopped within minutes, dried within 24 hours.
- Call a professional: Category 2 or 3 water, water that reached wall cavities or the subfloor, a burst pipe in a commercial building, or any musty odor that develops after you thought it was dry.
Insurance Documentation and Post-Remediation Testing
Insurance documentation and post-remediation testing are the two steps most homeowners skip, and both matter. Most guides stop at cleanup; this section covers the paperwork and verification that protect you after the equipment is gone.
Insurance Documentation Checklist
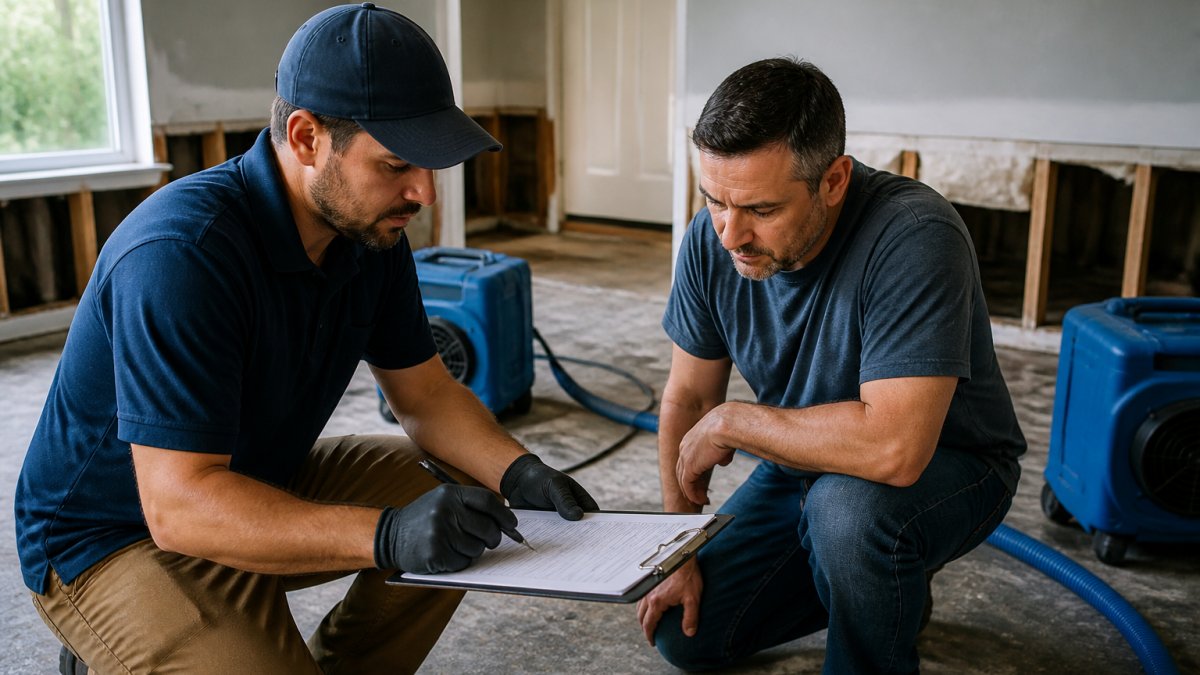
Start your claim file the day of the loss, before you throw anything away. A complete file includes:
- Photos and video of every affected room, taken from multiple angles, before any cleanup begins. Include wide shots that show the room in context and close-ups of the water line on walls, wet carpet, and damaged belongings.
- A written inventory of damaged items, with approximate age, replacement cost, and whether the item is salvageable. Note brand names and model numbers where you can.
- The plumber's invoice showing the cause of loss and the repair. This is often the document that establishes the loss was sudden and accidental rather than the result of deferred maintenance.
- Receipts for everything you spend, equipment rentals, fans, dehumidifiers, hotel stays, meals during displacement, and any emergency supplies.
- Your drying log, including daily moisture meter and hygrometer readings with dates visible in the photos.
- A timeline of events: when the pipe burst, when you shut off the water, when the plumber arrived, when drying equipment was set up, and when readings returned to normal.
Most policies require reasonable steps to prevent further damage, so document your drying efforts as proof you did. Check your policy or ask your adjuster about specific requirements, they vary by carrier and policy form.
DIY vs. Professional Threshold
Use this threshold to decide whether you can handle the job or need to call a professional:
- DIY: clean-water (Category 1) source, under roughly 10 square feet, stopped within minutes, dried within 24 hours, no musty odor, and moisture readings returning to dry standard.
- Call a professional: Category 2 or 3 water, water that reached wall cavities or the subfloor, a burst pipe in a commercial building, more than one room affected, materials still wet after 48 hours of DIY drying, or any musty odor that develops after you thought it was dry.
Post-Remediation Testing and Clearance
Post-remediation testing verifies the work actually worked. A clearance check confirms moisture levels have returned to normal and no elevated mold spores remain in the air or on surfaces. Without it, you have no proof the problem is solved and no protection if growth reappears later.
A typical clearance process includes:
- Visual inspection of the remediated area to confirm no visible mold, dust, or debris remains.
- Moisture readings on structural materials to confirm they have returned to dry standard.
- Air sampling, often using spore trap or culturable samplers, to compare indoor spore levels against an outdoor control sample. Results are typically reported as spore counts per cubic meter.
- Surface sampling (tape lift or swab) when a specific surface is in question.
Most remediation firms will not issue a clearance letter until independent testing confirms the area is dry and spore levels are normal. If your contractor offers to skip testing, ask why.
What to Do If Mold Returns
If mold reappears after a remediation job, your clearance documentation and drying log are the evidence that the original work was incomplete. Contact the remediator in writing with the clearance letter and post-remediation photos, and request a reinspection. If they will not respond, that documentation also supports a claim with your insurance carrier or, in some cases, a complaint with your state's licensing or consumer protection agency.
Frequently Asked Questions
How long does it take for mold to grow after water damage?
Mold can begin to grow within 24 to 48 hours after water damage if moisture remains. In ideal conditions, warm temperatures and high humidity, visible mold may appear in as little as 48 hours. That's why fast action is critical. Extracting standing water, running dehumidifiers, and increasing air circulation within the first day dramatically reduces the risk of mold growth.
How can I prevent mold from forming after water damage?
Start by stopping the water source and extracting standing water immediately. Remove porous materials like carpet and drywall that cannot be dried within 48 hours. Set up dehumidifiers and air movers to dry the area completely, and use a hygrometer to confirm moisture levels are below 15%. Clean and disinfect all surfaces, then monitor for musty odors or discoloration. If you suspect hidden moisture, call a professional for moisture mapping.
Does homeowners insurance cover mold remediation after a pipe burst?
Most homeowners insurance policies cover mold remediation if it results from a sudden, accidental event like a pipe burst. However, coverage limits and deductibles vary. Document the damage with photos and receipts, and contact your insurer immediately. Professional restoration companies can provide detailed reports to support your claim and help ensure you get the coverage you're entitled to.
What are the signs of mold behind walls after a pipe burst?
Watch for musty odors, discolored patches on walls or ceilings, peeling paint, and warped baseboards. You may also notice increased allergy symptoms when in the room. If you see any of these signs, use a moisture meter to check for hidden dampness. If moisture is present, cut a small hole in the drywall to inspect the cavity, or call a professional for a thorough inspection.